- What Are the Essential Steps to Prepare Drone Footage for Editing?
- What Software and Tools Do Professional Drone Editors Use?
- How Do You Achieve Cinematic Color Grading and Visual Effects in Drone Videos?
- What Techniques Are Key for Stabilizing and Enhancing Drone Footage?
- How Can Storytelling and Pacing Elevate Your Drone Videography?
Published May 27, 2026 · 14 min read
Are you wondering how to edit drone footage professionally to capture breathtaking aerial visuals? Raw drone footage, while inherently beautiful, often lacks the polish and narrative flow needed to truly captivate an audience. Turning those stunning aerial shots into a professional, cinematic masterpiece requires more than just cutting clips together, it demands a strategic approach to post-production, from stabilization and color grading to compelling storytelling. At Motion Edges, our team knows exactly what it takes to transform your raw drone footage into an engaging visual story.
💡 Understanding the nuances of aerial cinematography and mastering advanced editing techniques are crucial for elevating your drone videos beyond amateur status. Professional editing can significantly enhance visual impact and viewer engagement.
What Are the Essential Steps to Prepare Drone Footage for Editing?
Preparing your drone footage for editing is a critical first step that lays the foundation for a smooth and efficient post-production workflow. This involves meticulous organization, careful review of your aerial shots, and proper data management to ensure no valuable footage is lost. Skipping these initial stages can lead to headaches later in the editing process.
Organize Your Files Meticulously
Before you even open your editing software, establish a robust file organization system. Create a dedicated folder for your project, then subfolders for raw footage, audio, music, graphics, and exports. Rename your files descriptively, including dates and locations, to easily identify specific aerial shots. This structured approach saves immense time, particularly on larger projects.
Backup Your Raw Drone Footage
Always, always back up your raw drone footage. Hard drives can fail, and files can be accidentally deleted. Use multiple storage solutions, such as external hard drives and cloud storage, to create redundant copies. This safety net ensures that your valuable aerial videography assets are protected no matter what.
Review and Select the Best Takes
Go through all your raw drone footage and identify the strongest clips. Look for stable shots, compelling compositions, and footage that aligns with your narrative vision. Don’t be afraid to discard shaky, out-of-focus, or uninspired takes. A selective approach ensures you’re only working with high-quality material, making the editing process more focused.
✅ Create a ‘selects’ folder for your chosen clips. This pre-edits your footage, making the assembly phase much faster and more efficient. Only work with your absolute best material.
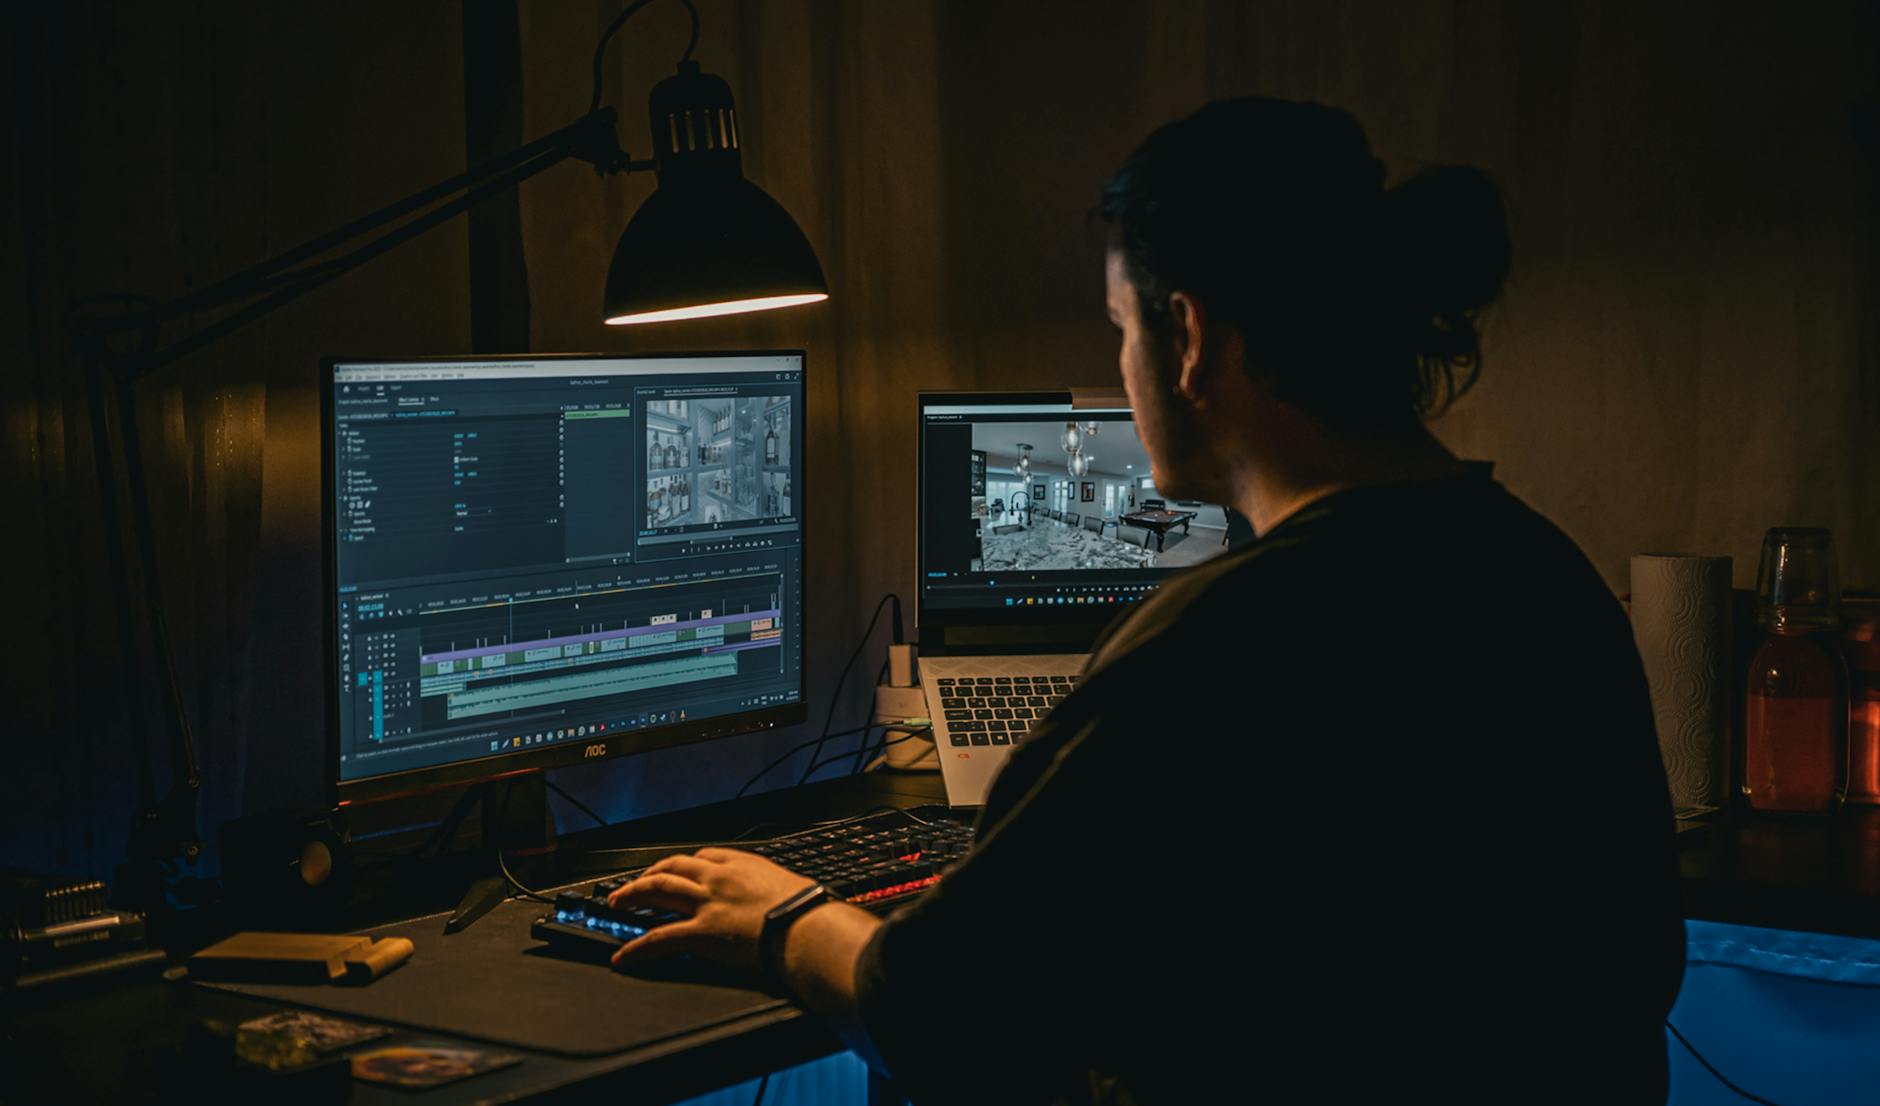
A professional editor meticulously reviewing raw drone footage for optimal quality and narrative potential.
What Software and Tools Do Professional Drone Editors Use?
Professional drone editors rely on a suite of powerful software and specialized tools to transform raw aerial footage into polished, cinematic videos. The right software provides the capabilities for precise cuts, advanced color grading, stabilization, and the integration of visual effects, which are all crucial for achieving high-quality results. Your choice of tools significantly impacts the final quality of your drone videography.
Industry-Standard Video Editing Software
For non-linear editing (NLE), Adobe Premiere Pro and DaVinci Resolve are dominant choices among professionals. Premiere Pro offers a vast ecosystem with integration into other Adobe apps like After Effects, while DaVinci Resolve is renowned for its superior color grading capabilities, with a powerful free version available. Final Cut Pro is also popular among Mac users for its intuitive interface and optimized performance.
| Software | Key Features for Drone Editing | Pros | Cons |
|---|---|---|---|
| Adobe Premiere Pro | Multi-camera editing, Lumetri Color, integration with After Effects | Industry standard, extensive tutorials, versatile | Subscription-based, can be resource-intensive |
| DaVinci Resolve | Advanced color grading, Fusion (VFX), Fairlight (audio) | Powerful color correction, free version, all-in-one | Steeper learning curve, less intuitive for beginners |
| Final Cut Pro | Optimized for macOS, magnetic timeline, proxy workflows | Fast performance on Apple hardware, user-friendly | Mac-only, one-time purchase, less third-party plugin support |
Specialized Tools for Drone Footage Enhancement
Beyond the core NLE, several tools are invaluable for drone editing. Gyroflow is excellent for stabilizing FPV drone footage, leveraging gyroscope data for incredibly smooth results. For advanced color work, dedicated color grading panels like the Tangent Wave2 or DaVinci Resolve Mini Panel offer tactile control. Plugins for noise reduction (e.g., Neat Video) and de-graining are also crucial for maintaining pristine video quality, especially in low-light drone shots.
Hardware Considerations for Optimal Performance
Editing high-resolution drone footage (4K, 6K, 8K) demands robust hardware. A powerful multi-core processor (Intel i7/i9 or AMD Ryzen 7/9), a dedicated GPU with ample VRAM (NVIDIA RTX or AMD Radeon RX), and at least 32GB of RAM are highly recommended. Fast SSD storage, especially an NVMe drive for your project files and cache, will dramatically improve playback and rendering speeds. These specifications are essential if you want to know how to edit drone footage professionally without frustrating delays.
How Do You Achieve Cinematic Color Grading and Visual Effects in Drone Videos?
Achieving cinematic color grading and integrating compelling visual effects are paramount when you want to edit drone footage professionally. These post-production stages transform raw, flat aerial images into vibrant, emotionally resonant scenes that capture a viewer’s imagination. Mastering these techniques requires an understanding of color theory and a creative eye for visual storytelling.
Mastering Color Correction and Grading
Color correction is the first step, ensuring your drone footage has accurate white balance, exposure, and contrast. This creates a neutral baseline. Color grading then applies an artistic look. Use tools like Lumetri Color in Premiere Pro or the Color Page in DaVinci Resolve to adjust hues, saturation, and luminance. Experiment with LUTS (Look Up Tables) as a starting point, but always fine-tune them to suit your specific footage and desired mood. Consider the time of day and natural light in your aerial shots when applying these adjustments.
Enhancing with Visual Effects and Motion Graphics
Visual effects (VFX) can add significant polish. Simple effects include subtle lens flares, light leaks, or atmospheric haze to enhance depth. For more advanced aerial cinematography, consider adding motion graphics, such as animated text overlays, lower thirds, or even 3D elements, using software like Adobe After Effects or DaVinci Resolve Fusion. Ensure any effects blend seamlessly and don’t distract from the natural beauty of the drone footage.
⚠️ Over-grading or over-applying LUTS can make your drone footage look artificial and unprofessional. Always aim for a natural, refined look that enhances, rather than overwhelms, the original imagery.
Leveraging Sky Replacement and Compositing
Sometimes, the sky in your drone footage might be dull or overcast. Sky replacement techniques, available in tools like Photoshop, After Effects, or even specialized AI tools, allow you to seamlessly swap out skies for more dramatic or aesthetically pleasing ones. Compositing multiple aerial shots or adding elements like clouds can also elevate the visual impact, creating a truly unique and professional look. This is a common technique when learning how to edit drone footage professionally for commercials or films.
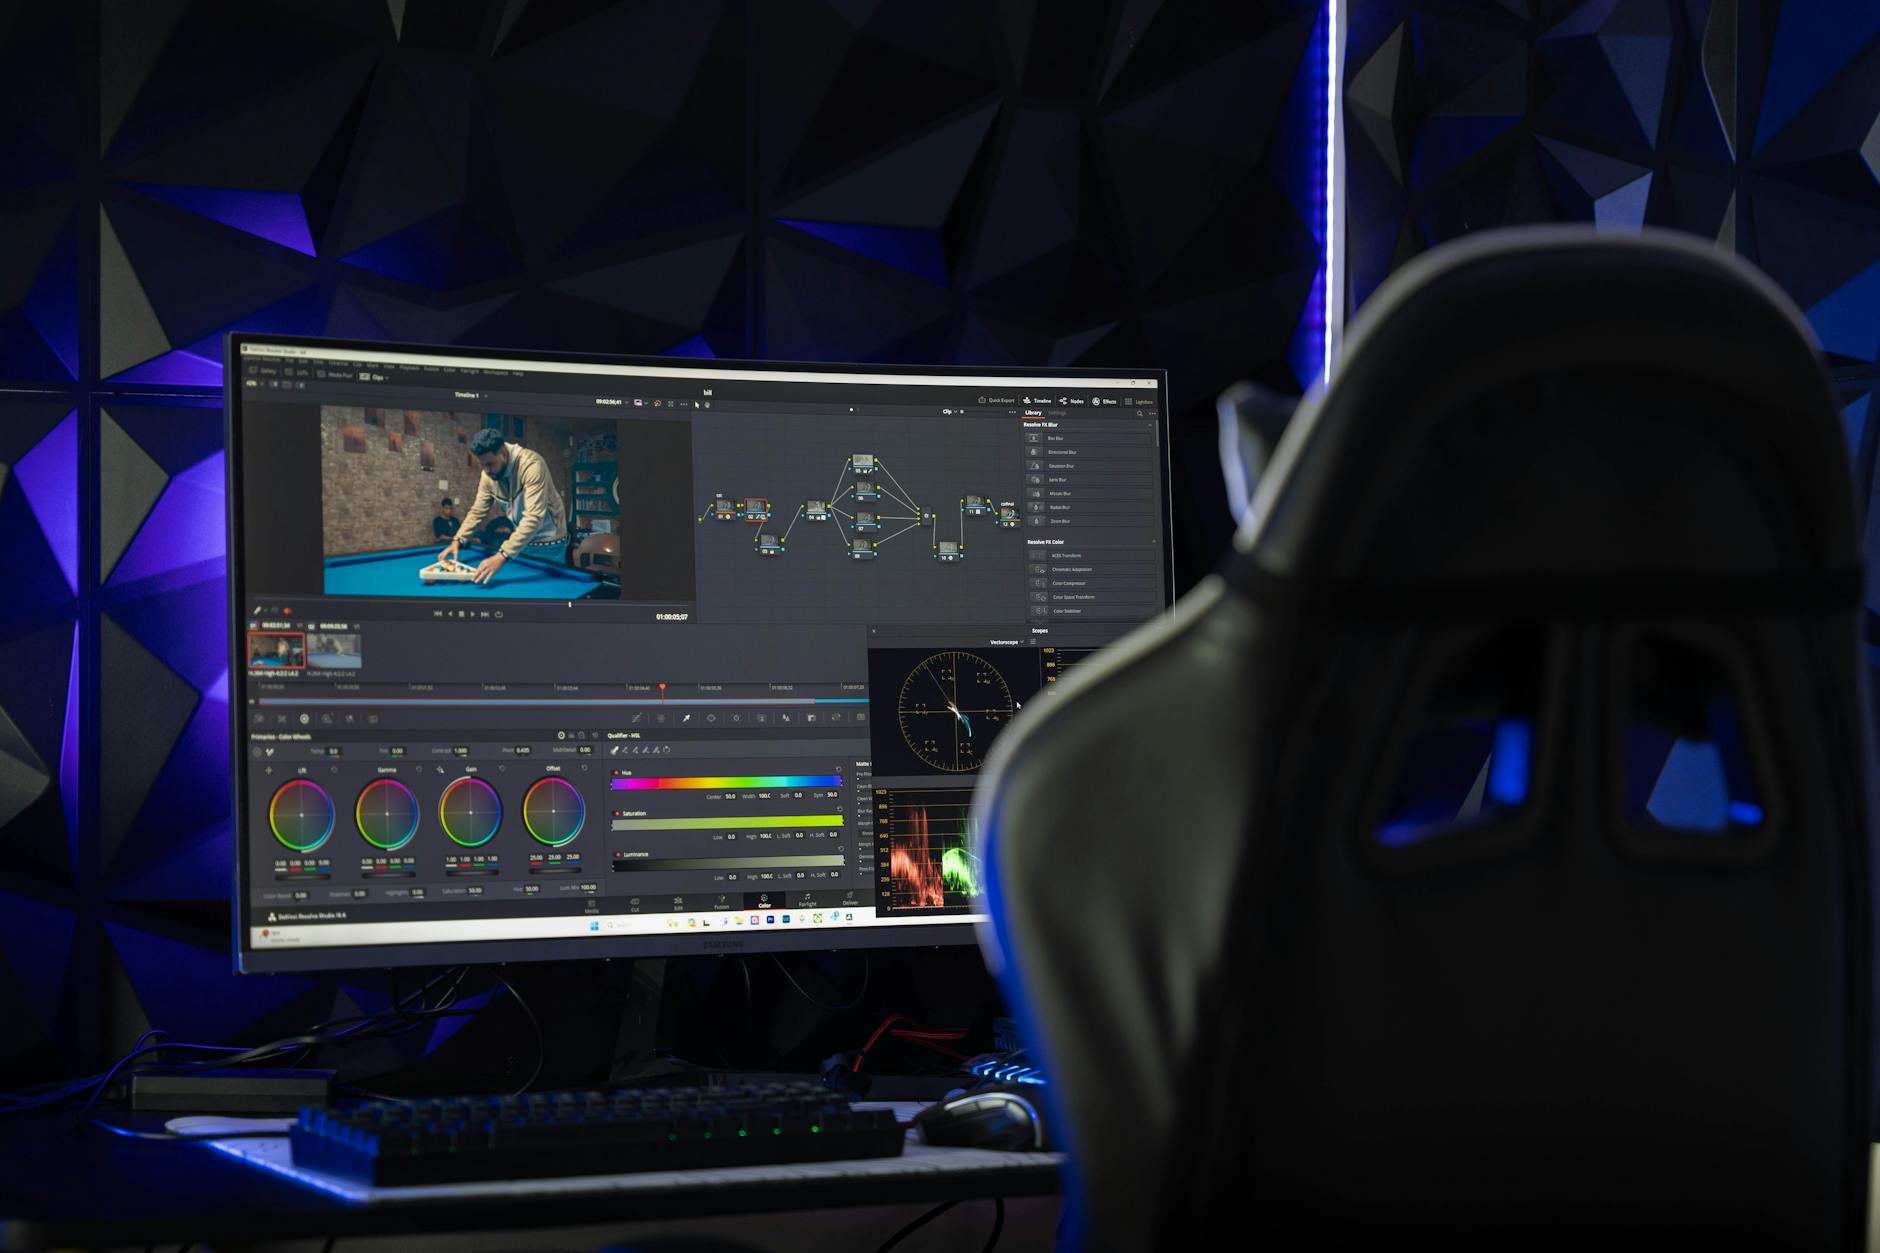
Expert color grading breathes life into drone footage, transforming mundane skies into dramatic backdrops.
What Techniques Are Key for Stabilizing and Enhancing Drone Footage?
Stabilizing and enhancing drone footage are critical post-production steps that separate amateur videos from professional productions. Even the most advanced drones can capture footage with minor jitters or wobbles, which can be distracting. Effective stabilization ensures smooth, fluid camera movements, while enhancement techniques refine the overall visual quality, making your aerial videography truly shine.
Advanced Stabilization Methods
Most NLEs include built-in stabilization tools like Adobe Premiere Pro’s Warp Stabilizer or DaVinci Resolve’s stabilizer. While effective, these can sometimes introduce unwanted warping. For FPV drone footage, Gyroflow offers superior results by using the drone’s gyroscope data for hyper-accurate stabilization. When applying stabilization, always check for artifacting and adjust settings carefully to achieve a natural, smooth look without distorting your aerial shots. We often use a combination of in-camera and software stabilization to get the best results for our clients.
Noise Reduction and Sharpening
Drone footage captured in low light or at high ISO settings can suffer from digital noise. Plugins like Neat Video are excellent for reducing noise while preserving detail. After noise reduction, apply subtle sharpening to bring out the crispness of your aerial images. Be careful not to over-sharpen, as this can create an artificial, grainy look. The goal is to enhance clarity, not to create harsh edges.
Optimizing Frame Rates and Playback Speed
Understanding frame rates is crucial for cinematic drone footage. Shooting at 24fps (frames per second) provides a traditional filmic look, while 30fps is more common for broadcast. Higher frame rates like 60fps or 120fps are ideal for creating smooth slow-motion sequences. When editing, match your sequence settings to your footage’s frame rate, and use interpolation techniques (e.g., optical flow) for the smoothest slow-motion effects. This attention to detail is essential when you want to know how to edit drone footage professionally.
Removing Unwanted Elements
Sometimes, unwanted elements like dust on the lens, propeller blades, or even people can appear in your drone footage. Tools within your NLE or compositing software (like After Effects) can be used to mask, clone, or content-aware fill these distractions out of your aerial shots, ensuring a clean and professional final product. This meticulous cleanup is a hallmark of high-quality drone editing.
How Can Storytelling and Pacing Elevate Your Drone Videography?
Storytelling and pacing are the invisible threads that weave your drone footage into a compelling narrative, transforming a collection of beautiful aerial shots into a truly engaging video. Without a coherent story and thoughtful pacing, even the most stunning visuals can fall flat. Mastering these elements is how you truly edit drone footage professionally, ensuring your audience remains captivated from start to finish.
Crafting a Compelling Narrative Arc
Every professional video, including those with drone footage, benefits from a clear narrative. What is the purpose of your video? Is it to showcase a property, tell a travel story, or highlight an event? Define your beginning, middle, and end. Use your aerial shots to establish location, build tension, reveal details, and create emotional impact. Think about how each drone movement contributes to the overall story, rather than just being a cool shot. Our team at Motion Edges excels at weaving visual narratives that resonate.
The Art of Pacing and Rhythm
Pacing dictates the speed and flow of your video. Fast cuts and dynamic movements create excitement, while slower, longer takes can evoke a sense of awe or tranquility. Match the pacing to the emotional tone of your story. For example, an establishing shot might be held longer to allow the viewer to absorb the landscape, while an action sequence will benefit from quicker cuts. Consider the rhythm between your ground footage and aerial shots to create a harmonious flow.
Selecting the Perfect Soundtrack
Music is incredibly powerful in shaping the mood and pacing of your drone video. Choose a soundtrack that complements your narrative and visual style. Upbeat tracks can energize, while orchestral pieces can add grandeur. Ensure the music builds and falls with your narrative, enhancing emotional moments. Pay attention to sound design as well, adding subtle ambient sounds or sound effects to enrich the aerial experience. This elevates the perceived quality of your drone videography.
our professional editing services can help you choose the perfect soundtrack and sound design for your aerial projects.
Seamless Transitions and Effects
Transitions should serve the story, guiding the viewer smoothly from one scene to the next. Simple cuts are often the most effective, but creative transitions like dips to black, cross dissolves, or even subtle whip pans can be used judiciously. Avoid overusing flashy transitions, as they can distract from your drone footage. Similarly, use effects sparingly to enhance the narrative, not to overpower it. If you want to see our portfolio, you’ll notice how we use transitions effectively.
💡 A strong narrative combined with thoughtful pacing can transform raw drone footage into a powerful visual experience, making your aerial content memorable and impactful. It’s the difference between showing and telling.
Incorporating Text and Graphics
Text overlays and graphics can provide context, highlight key information, or add a professional branding element. Use them sparingly and ensure they are legible and aesthetically pleasing. Animated lower thirds for names or locations, or subtle title cards for section breaks, can enhance clarity without cluttering your stunning aerial shots. These small details contribute significantly to how to edit drone footage professionally.
Learning how to edit drone footage professionally can be a rewarding journey, transforming your raw aerial captures into truly cinematic experiences. From meticulous preparation and utilizing the right software to mastering color grading, stabilization, and crucially, weaving a compelling narrative, each step plays a vital role in elevating your drone videography. While the learning curve can be steep, the results, breathtaking, professional-grade aerial videos, are well worth the effort. If you’re looking for expert assistance to bring your drone projects to life with transparent pricing, don’t hesitate to get in touch with our team at Motion Edges. We’re here to help you create stunning visual stories that fly high above the rest.
What is the best software to edit drone footage professionally?
The best software for professional drone footage editing often depends on your specific needs and operating system. Adobe Premiere Pro is an industry-standard for its comprehensive features and ecosystem integration, while DaVinci Resolve is highly acclaimed for its advanced color grading capabilities, offering a powerful free version. Final Cut Pro is excellent for Mac users due to its optimized performance and intuitive interface.
How do I make my drone footage look cinematic?
To make your drone footage look cinematic, focus on several key areas: shoot in a flat picture profile (e.g., D-Log, D-Cinelike) for maximum flexibility in post-production, use slow and controlled camera movements, apply professional color grading techniques, use a consistent frame rate (like 24fps), and incorporate a compelling narrative with appropriate pacing and music. Subtle visual effects and lens flares can also enhance the cinematic feel.
Should I stabilize drone footage?
Yes, you should almost always stabilize drone footage, even if your drone has excellent in-camera stabilization. Minor jitters, vibrations, or wind can introduce subtle shakiness that becomes noticeable on larger screens. Software stabilization (e.g., Warp Stabilizer, Gyroflow) can smooth out these imperfections, resulting in much more professional and fluid aerial shots. Always check for unwanted warping after applying stabilization.
What is color grading in drone editing?
Color grading in drone editing is the artistic process of enhancing and altering the colors of your drone footage to evoke a specific mood, style, or visual aesthetic. It typically follows color correction, which fixes issues like white balance and exposure. Color grading involves adjusting hues, saturation, luminance, contrast, and applying specific looks (like cinematic LUTs) to create a consistent and visually appealing final product that enhances the storytelling.
How long does it take to edit professional drone footage?
The time it takes to edit professional drone footage varies significantly based on the project’s complexity, the amount of raw footage, the desired length of the final video, and the level of post-production required (e.g., extensive VFX, motion graphics, multiple revision rounds). A simple 1-minute drone video might take 4-8 hours of editing, while a complex 3-5 minute cinematic piece could easily take 20-40 hours or more, spread over several days or weeks.
Ready to Elevate Your Video Content?
Motion Edges delivers professional video editing that drives engagement and growth. Our dedicated editors learn your style and deliver consistently polished content.
Related Services from Motion Edges
- Talking Head Video Editing in Los Angeles — clean cuts, captions, and b-roll for YouTube creators
- Talking Head Video Editing in Austin — 48-hour delivery, professional results
- View All Video Editing Services