
- What Exactly is Color Grading and How Does It Differ from Color Correction?
- What Are the Fundamental Tools and Concepts for Beginner Color Grading?
- How Do I Approach Basic Color Correction Before Grading?
- What Essential Color Grading Techniques Should Beginners Learn?
- How Can I Develop My Eye and Master Advanced Color Grading Workflows?
Published May 26, 2026 · 15 min read
Are you ready to elevate your video projects from amateur to professional? Mastering color grading techniques for beginners is one of the most impactful steps you can take. It’s not just about making your video look ‘good’ it’s about setting the mood, guiding the viewer’s eye, and telling your story with emotional depth. If your footage often looks flat or lifeless, a solid understanding of color grading can dramatically transform your work, giving it that polished, cinematic finish you crave.
At Motion Edges, our team knows firsthand the power of professional color work. We’re here to demystify the process, offering you practical, actionable advice that you can apply immediately, even if you’re just starting your journey in video editing. Let’s dive into how you can make your videos truly pop!
💡 Color grading isn’t just a technical adjustment, it’s a creative art that adds emotional resonance and visual consistency to your video, shaping the audience’s perception of your story.
What Exactly is Color Grading and How Does It Differ from Color Correction?
Color grading is the artistic process of altering and enhancing the color of a motion picture, video, or still image. It’s distinct from color correction, which focuses on normalizing color, exposure, and white balance to make footage look natural and consistent. Grading, in contrast, applies a specific aesthetic or mood to the footage, often to evoke emotion or enhance storytelling.
Many beginners confuse color correction with color grading, but they serve different purposes within the post-production workflow. Think of it this way: color correction fixes problems, while color grading creates a look. Before you can apply any creative color grading techniques for beginners, you must first ensure your footage is color corrected. This foundational step involves adjusting white balance to ensure whites are truly white, blacks are truly black, and colors are accurate. You’ll also balance exposure and contrast across all your clips to ensure visual continuity.
Once your footage is corrected, you move into the more subjective realm of grading. This is where you might apply a warm, golden hour look, a cool, desaturated sci-fi aesthetic, or a vibrant, poppy commercial style. The goal is to craft a visual language that supports your narrative and engages your audience on an emotional level. According to a study by the Journal of Business Research, color influences consumer perception by 50-85%, highlighting its profound impact on how we interpret visual information.
The Essential Role of Color in Storytelling
Color is a powerful non-verbal communicator. A rich, deep blue might suggest sadness or tranquility, while bright, saturated yellows can convey joy or energy. Understanding these associations is key to effective color grading. By manipulating color, you can subtly influence the viewer’s emotional response, highlight important elements within a scene, and even establish character traits. For instance, a villain might be graded with cold, harsh tones, while a hero might have warmer, more inviting hues. This visual consistency helps build a cohesive and immersive experience for your audience.
Building a Solid Foundation: Correction First
Neglecting proper color correction before grading is a common mistake among beginners. Trying to apply a stylistic grade to footage that has incorrect white balance or inconsistent exposure will only amplify those underlying issues. Our recommendation is always to perform your primary color corrections first. Get your blacks, mids, and whites balanced, ensure skin tones look natural, and then move on to the creative aspects of grading. This methodical approach ensures a cleaner, more professional final product.
⚠️ Never skip color correction! Trying to grade poorly corrected footage is like trying to paint a masterpiece on a dirty canvas. Always ensure accurate white balance and exposure before applying stylistic grades.
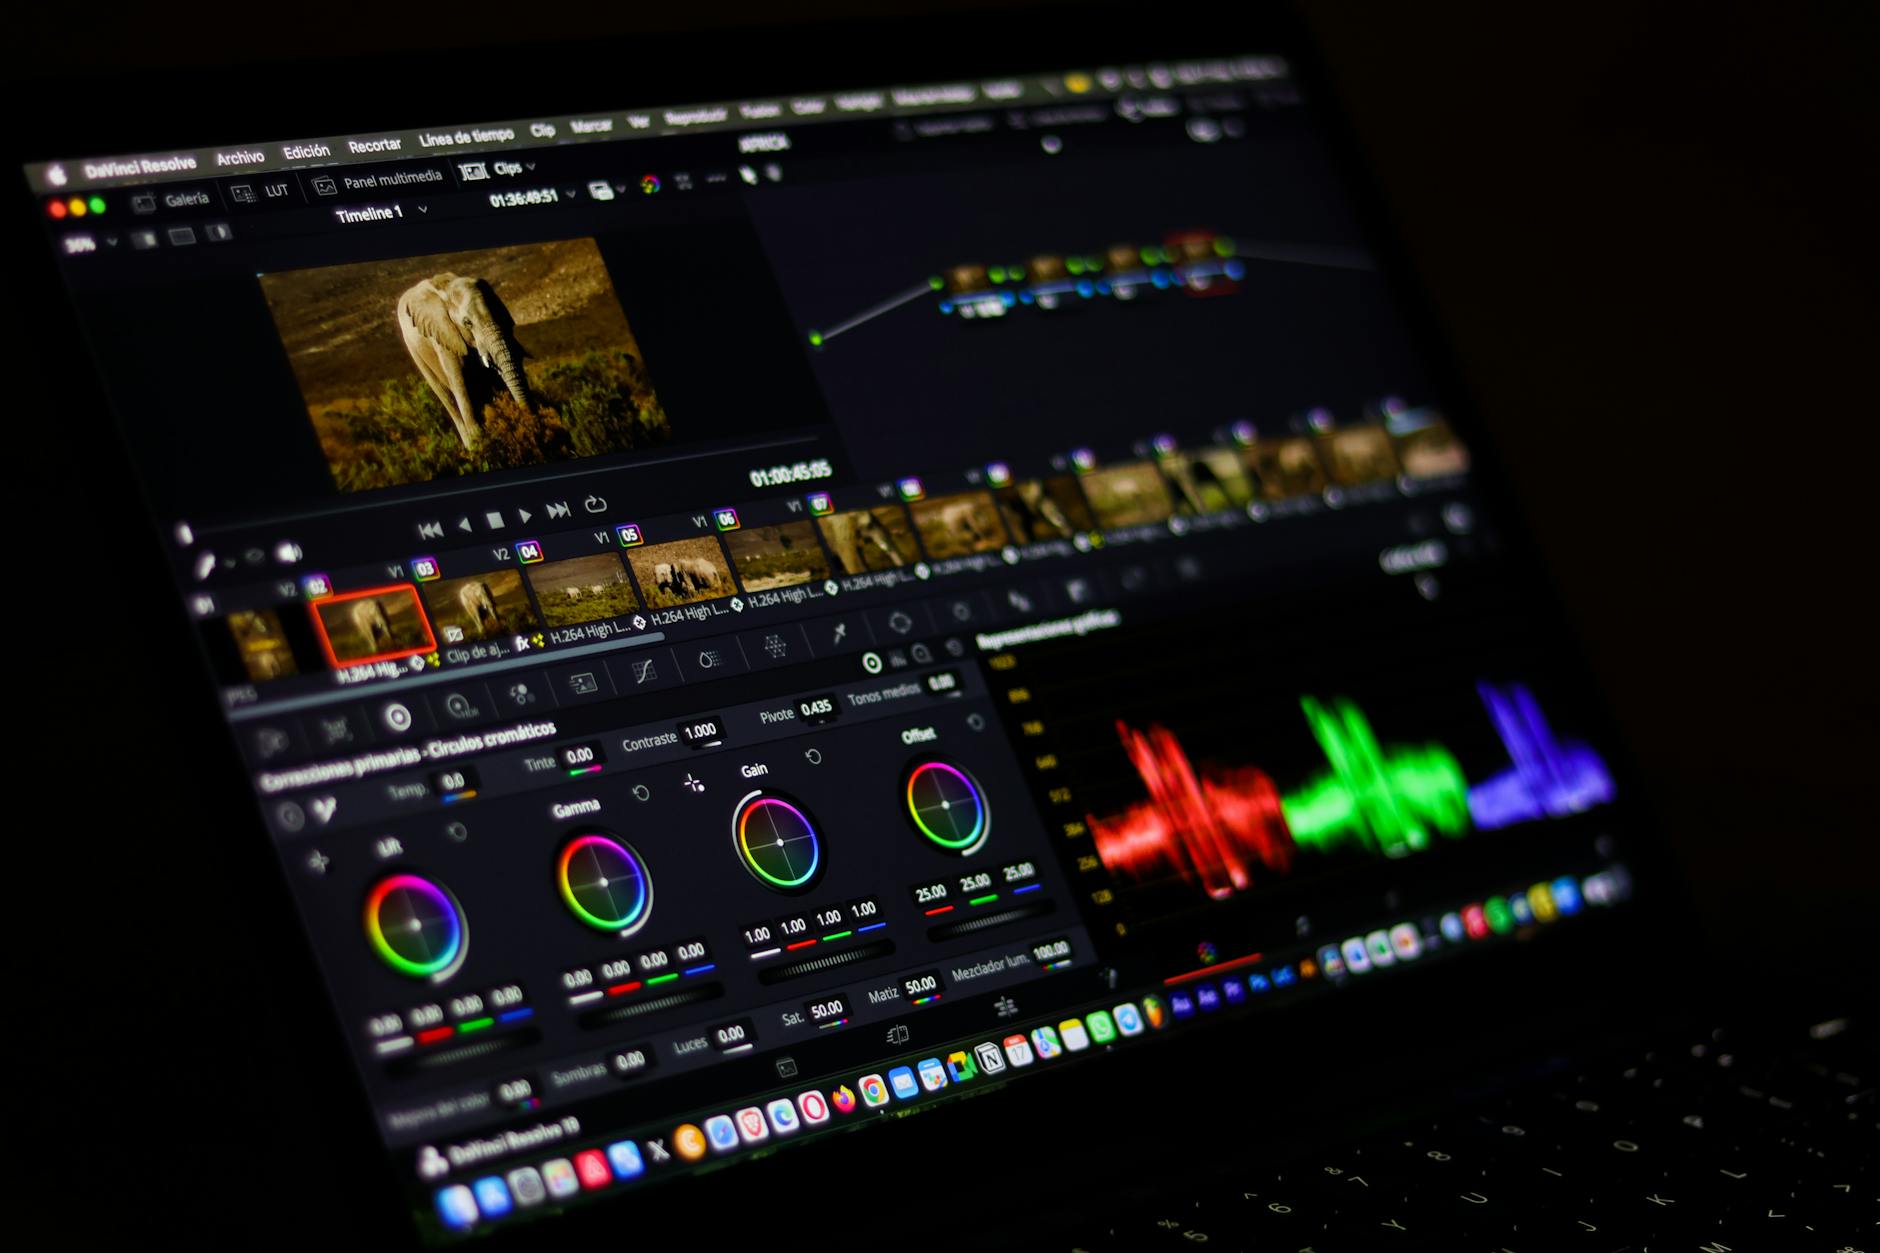
Color grading transforms raw footage into a visually stunning, mood-rich narrative.
What Are the Fundamental Tools and Concepts for Beginner Color Grading?
For beginners diving into color grading, understanding your software’s primary color tools is crucial. Most professional editing suites like DaVinci Resolve, Adobe Premiere Pro, and Final Cut Pro offer a similar set of fundamental tools: color wheels, RGB curves, and scopes. Familiarizing yourself with these allows you to make precise adjustments and monitor your changes effectively.
These tools provide the granular control needed to manipulate hue, saturation, and luminance. Color wheels, for example, allow you to adjust the color balance in shadows, midtones, and highlights independently. RGB curves offer even finer control over specific color channels and brightness levels, enabling you to create custom contrast and color shifts. Scopes, such as waveforms, parades, and vectorscopes, are indispensable for objectively analyzing your footage and ensuring legal broadcast levels, preventing ‘crushed’ blacks or ‘blown out’ whites.
Navigating Color Wheels and Sliders
Color wheels are often the first tool beginners encounter for grading. They typically feature three wheels: one for shadows, one for midtones, and one for highlights. By dragging a marker within each wheel, you can push colors into specific tonal ranges. Sliders often accompany these wheels, allowing you to control luminance, contrast, and saturation. Experimenting with these is a great way to start understanding how different color pushes affect the overall mood of your scene. For example, pushing blues into the shadows can create a cold, eerie feel, while adding oranges to the highlights can mimic a warm sunset.
Mastering RGB Curves for Precision
RGB curves provide a visual representation of your footage’s tonal range and color channels. The X-axis represents input values (original brightness), and the Y-axis represents output values (adjusted brightness). By adding points to the curve and dragging them, you can increase or decrease brightness in specific areas. Separate curves for Red, Green, and Blue channels allow you to fine-tune color balance with incredible precision. For instance, lowering the blue curve in the shadows can warm up those areas, while increasing it in the highlights can cool them down. This level of control is essential for advanced color grading techniques for beginners.
| Tool Name | Primary Function | Beginner Application |
|---|---|---|
| Color Wheels | Adjust color balance in shadows, midtones, highlights | Quickly establish scene mood (warm/cool) |
| RGB Curves | Precise control over luminance and individual color channels | Fine-tune contrast and subtle color shifts |
| Scopes (Waveform, Vectorscope) | Objectively analyze luminance and color saturation | Ensure legal levels, identify color casts |
| LUTs (Look Up Tables) | Apply preset color transformations | Experiment with cinematic looks instantly |
Understanding Scopes: Your Objective Eyes
Scopes are non-negotiable for professional color work. A waveform monitor shows the luminance levels of your footage, helping you identify areas that are too bright or too dark. A vectorscope displays color hue and saturation, ensuring skin tones are accurate and colors aren’t oversaturated. Learning to read these scopes will allow you to make informed decisions that transcend subjective perception, ensuring your videos look great on any screen. Our team at Motion Edges relies heavily on scopes to deliver consistent, high-quality results for all our professional editing services.
How Do I Approach Basic Color Correction Before Grading?
Before any creative color grading techniques for beginners can be applied, you must perform essential color correction. This foundational step ensures your footage is balanced, consistent, and provides a neutral canvas for your artistic vision. Getting this right prevents compounding issues later in the workflow and is critical for achieving professional results.
Basic color correction involves several key adjustments: setting white balance, correcting exposure, adjusting contrast, and fine-tuning saturation. These steps are performed in a specific order to build a clean image progressively. Think of it as preparing your ingredients before cooking the main dish. Skipping or rushing these steps will inevitably lead to a less appealing final product, regardless of how intricate your grading is. This disciplined approach ensures that your colors are accurate and your images have a natural, balanced foundation.
Step-by-Step Primary Correction Workflow
- Set White Balance. Identify a neutral gray or white object in your scene and use the eyedropper tool to neutralize it. Alternatively, use color wheels to balance red, green, and blue channels until colors appear natural.
- Adjust Exposure. Use your waveform monitor to ensure your blacks aren’t crushed (below 0 on the scale) and your whites aren’t clipped (above 100). Adjust your master gain/lift or gamma to bring the overall brightness into an optimal range.
- Balance Contrast. Increase or decrease the difference between the brightest and darkest parts of your image. Use the contrast slider or an S-curve on your RGB curve to achieve a pleasing visual depth without losing detail.
- Refine Saturation. Adjust the intensity of your colors. Be careful not to oversaturate, which can make colors look artificial. Aim for a natural, vibrant look unless a specific stylistic choice dictates otherwise.
Achieving Consistency Across Clips
One of the biggest challenges for beginners is maintaining consistent color correction across multiple clips, especially if they were shot in different lighting conditions. This is where your scopes become invaluable. Use them to match the white balance, exposure, and contrast of one clip to another. Create a reference frame or ‘hero shot’ that embodies your desired correction, then meticulously adjust subsequent clips to match its readings on the scopes. This attention to detail is what separates amateur work from professional productions.
✅ Use reference stills or ‘memory colors’ like skin tones to guide your color correction. Human skin tones often fall within a specific range on a vectorscope, providing a reliable guide for balancing your colors.
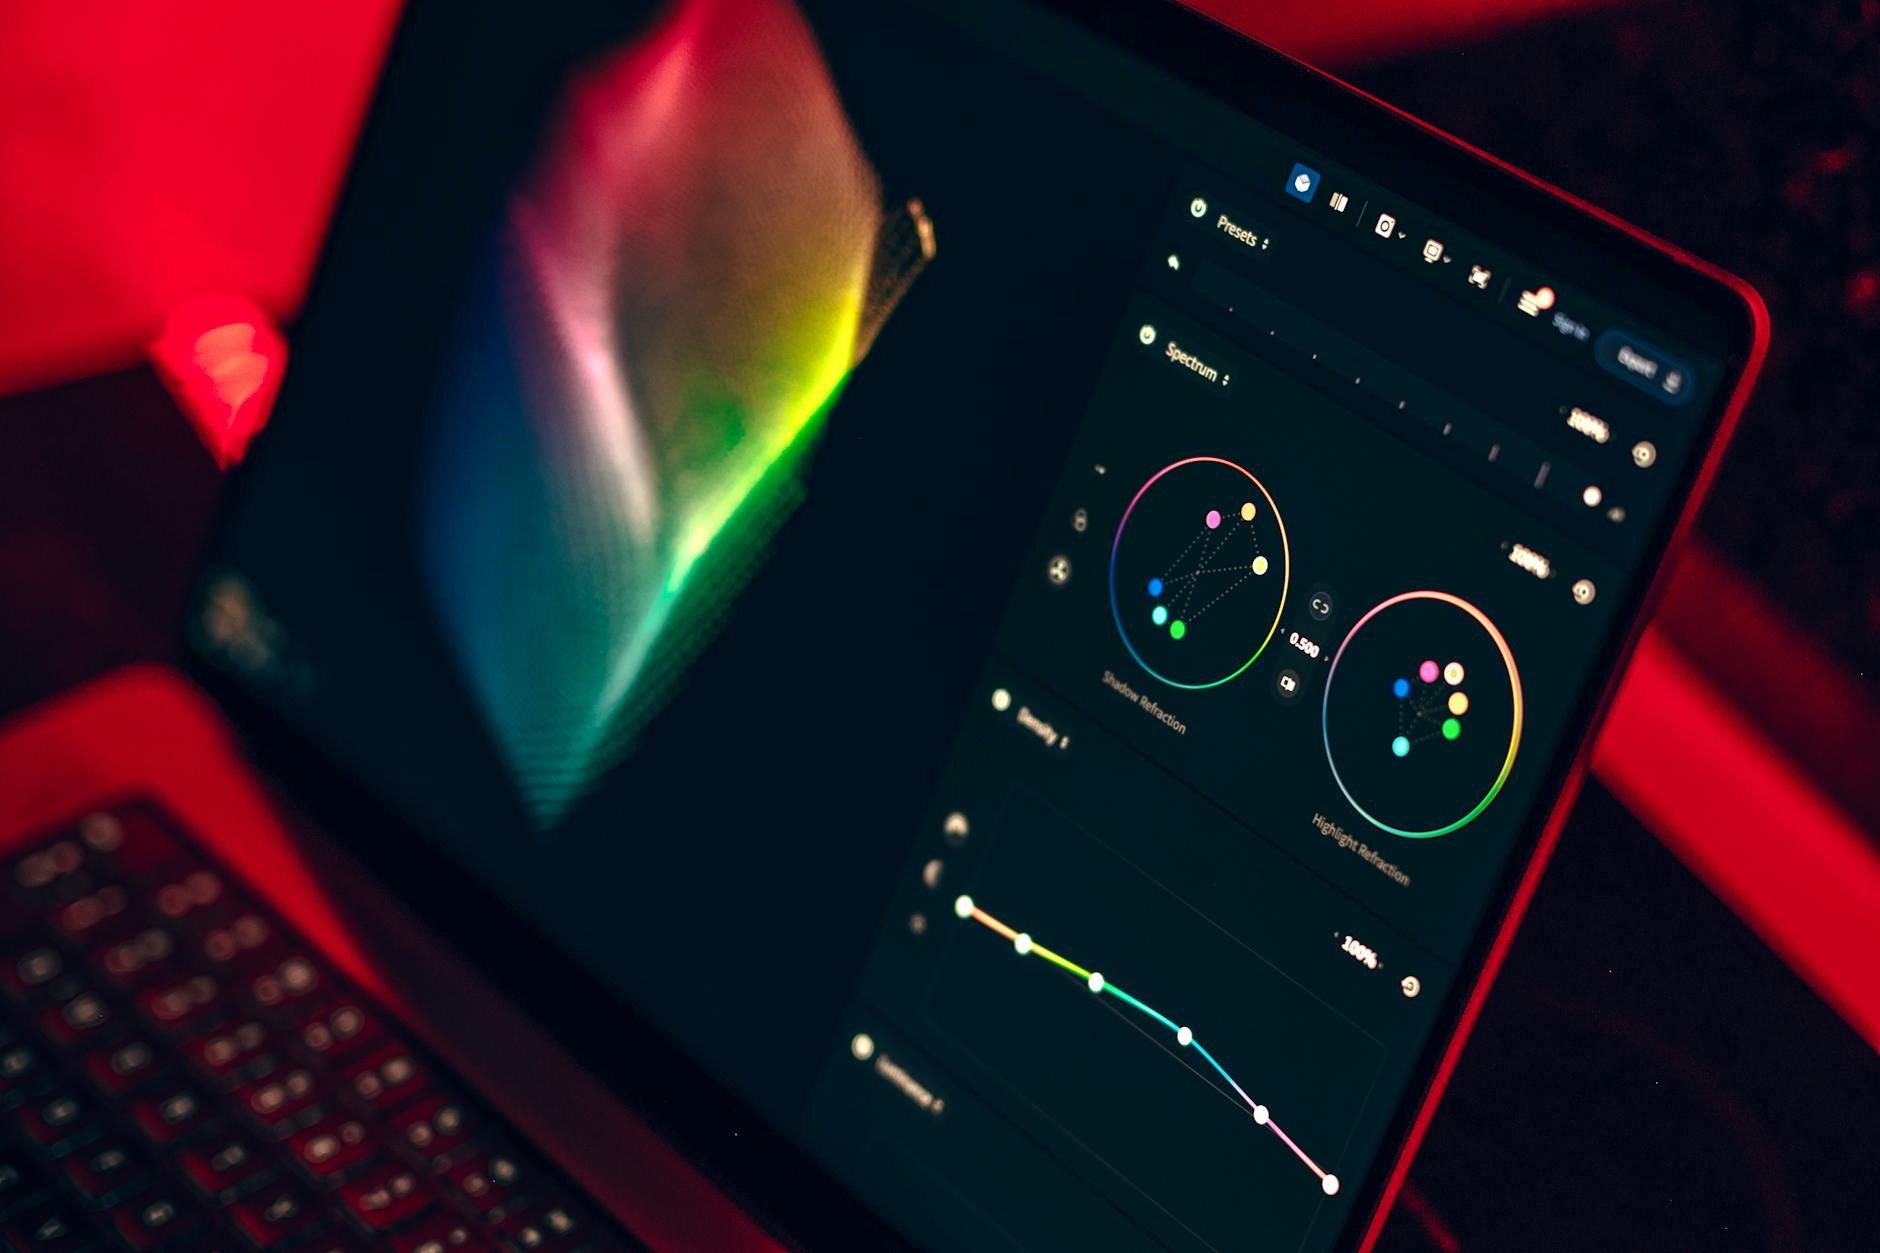
Proper color correction is the vital first step before applying creative color grading techniques.
What Essential Color Grading Techniques Should Beginners Learn?
Once your footage is perfectly color corrected, you’re ready to explore the exciting world of creative color grading techniques for beginners. This is where you infuse your video with mood, style, and emotional impact. Don’t be afraid to experiment, but also understand the common approaches that cinematographers use to achieve specific looks.
Some of the most accessible yet powerful techniques include split toning, applying cinematic LUTs, and subtly enhancing specific colors. Split toning involves adding different colors to the shadows and highlights independently, creating popular looks like teal and orange. LUTs (Look Up Tables) offer a quick way to apply complex color transformations, acting as presets for various film stocks or stylistic looks. Learning to use these effectively will dramatically improve your video’s visual appeal and help you develop your unique aesthetic.
Mastering Split Toning for Mood
Split toning is a highly popular grading technique, especially for filmic or dramatic looks. It involves adding a specific color cast to your shadows and a different one to your highlights. The classic ‘teal and orange’ look, often seen in Hollywood blockbusters, is a prime example. Teal in the shadows complements orange in the highlights, making skin tones (which lean orange) pop against cooler backgrounds. Experiment with different color combinations to see how they impact the emotional tone of your scene. A warm highlight/cool shadow combination often feels cinematic, while cool highlights and warm shadows can create a dreamy, ethereal quality.
Leveraging LUTs (Look Up Tables) Wisely
LUTs are essentially mathematical formulas that transform the color and luminance values of your footage. They can instantly apply complex color grades that mimic specific film stocks, popular movie looks, or even normalize log footage. For beginners, LUTs are a fantastic starting point for exploring different aesthetics without manually adjusting every parameter. However, use them judiciously. Don’t just slap a LUT on and call it a day. Think of a LUT as a base layer; you’ll almost always need to adjust its intensity and fine-tune other color parameters to integrate it seamlessly with your footage. Remember, a good LUT should enhance, not overpower, your image. Many free and paid LUTs are available online, but learning the manual techniques will always give you more control and understanding.
Selective Color Adjustment for Emphasis
Beyond global adjustments, selective color grading allows you to isolate and manipulate specific colors within your scene. This is done using secondary correction tools, often found in the HSL (Hue, Saturation, Luminance) qualifiers or masking features of your editing software. For example, you might want to make a red dress pop against a muted background, or subtly enhance the green of a lush landscape. This technique draws the viewer’s eye to important elements, adding depth and visual interest. It’s an advanced concept but highly effective for adding polish to your color grading techniques for beginners skillset. If you’re looking to achieve truly stunning results without the learning curve, consider exploring our transparent pricing for professional color grading services.
How Can I Develop My Eye and Master Advanced Color Grading Workflows?
Developing a keen eye for color and mastering advanced workflows is an ongoing process that comes with practice, experimentation, and critical analysis. It’s not just about knowing the tools, but understanding how to use them creatively and consistently across an entire project. This involves learning to analyze reference material, understanding color psychology, and developing a systematic approach to your grading sessions.
To truly master advanced color grading, you need to cultivate a strong visual vocabulary and understand the nuances of various film genres and their associated color palettes. Consistency across different scenes and even different projects is paramount for a professional finish. Furthermore, actively seeking feedback and iterating on your work, much like our team does, will accelerate your learning curve significantly. It’s about blending technical proficiency with artistic intuition.
Analyzing Reference Material and Color Palettes
One of the best ways to improve your grading skills is to actively study the work of others. Watch movies, commercials, and music videos with a critical eye. Pay attention to their color palettes, how colors are used to convey emotion, and the overall mood they establish. Screenshot scenes that inspire you and try to emulate their look in your own footage. Websites like filmschoolthru.com or color.adobe.com can be great resources for breaking down cinematic color palettes and understanding color theory. This practice will help you build a mental library of looks and understand how to achieve them.
Developing a Consistent Workflow
A systematic workflow is crucial, especially as your projects become more complex. Start with primary corrections, then move to secondary adjustments, and finally apply your creative grade. Always work on a calibrated monitor to ensure accurate color representation. Consider creating your own custom presets or power grades for frequently used looks to maintain consistency and save time. For larger projects, utilizing color management systems like ACES can simplify the process of working with different camera formats and delivering consistent results across various outputs. We encourage you to see our portfolio to witness the consistent quality we achieve through our established workflows.
The Importance of Feedback and Iteration
Don’t be afraid to solicit feedback on your color grades. A fresh pair of eyes can often spot issues or suggest improvements you might have missed. Share your work with peers, mentors, or even just friends, and ask specific questions about the mood, clarity, and overall appeal. Remember, color grading is subjective, but there are objective standards for technical quality. Learn to differentiate between personal preference and actual technical flaws. Iteration is key; be prepared to make adjustments based on feedback, always striving for a better, more impactful result. If you ever feel overwhelmed by the complexities of color, don’t hesitate to get in touch with our team for expert assistance.
What’s the best software for color grading beginners?
DaVinci Resolve is widely considered the industry standard for color grading and offers a powerful free version that’s perfect for beginners. Adobe Premiere Pro also has excellent built-in tools, especially with the Lumetri Color panel, making it a good choice if you’re already familiar with the Adobe ecosystem.
How long does it take to learn color grading?
Learning the basics of color grading can take a few weeks of dedicated practice. To achieve a professional level of proficiency and master advanced color grading techniques for beginners, it can take months or even years of consistent learning, experimentation, and working on diverse projects. It’s an ongoing journey of skill refinement.
Can poor lighting be fixed with color grading?
While color grading can significantly improve footage, it cannot fully fix extremely poor lighting or improperly exposed shots. It can enhance what’s already there, but if the original footage lacks detail in shadows or highlights due to bad lighting, that detail cannot be magically recovered. Proper lighting during filming is always the best foundation.
Should I use LUTs or grade manually?
For beginners, LUTs are a great starting point to quickly achieve a desired look and learn about different aesthetics. However, professional colorists often prefer manual grading for ultimate control and customization. The best approach is often a hybrid: apply a LUT as a base, then fine-tune it with manual adjustments using your color wheels and curves to perfectly suit your specific footage and vision.
What’s the difference between cinematic and natural color grading?
Natural color grading aims for realism, making colors appear as they would in real life, often used for documentaries or corporate videos. Cinematic color grading, on the other hand, is a more artistic approach that manipulates colors to evoke specific emotions, create a stylized look, or enhance storytelling, often seen in movies and high-production value commercials. Both require a solid understanding of color grading techniques for beginners.
Mastering color grading techniques for beginners is an incredibly rewarding journey that will fundamentally change how you approach video production. It’s about more than just making your videos look pretty; it’s about giving them soul, depth, and a professional sheen that captivates your audience. By understanding the distinction between correction and grading, familiarizing yourself with essential tools, and adopting a systematic workflow, you’re well on your way to transforming your raw footage into cinematic art.
Remember, practice is paramount. Experiment with different looks, analyze professional work, and don’t be afraid to make mistakes. Each adjustment you make, each subtle hue you shift, brings you closer to telling your story exactly as you envision it. At Motion Edges, we’re passionate about helping creators achieve their visual goals. Keep learning, keep creating, and watch your videos come to life with stunning color.
Ready to Elevate Your Video Content?
Motion Edges delivers professional video editing that drives engagement and growth. Our dedicated editors learn your style and deliver consistently polished content.
Related Services from Motion Edges
- Talking Head Video Editing in Houston — clean cuts, captions, and b-roll for YouTube creators
- Talking Head Video Editing in Los Angeles — 48-hour delivery, professional results
- View All Video Editing Services