
- How Do You Prepare Drone Footage for Editing?
- What Are the Essential Techniques for Editing Drone Footage?
- Which Software Is Best for Professional Drone Video Editing?
- How Can You Enhance Drone Footage with Color Grading and Visual Effects?
- What Are the Best Practices for Exporting and Delivering Drone Videos?
Published May 27, 2026 · 12 min read
Learning how to edit drone footage professionally can transform your aerial videography from amateur clips into breathtaking cinematic experiences. Drone technology has made stunning perspectives accessible, but the true magic happens in post-production. Without proper editing, even the most spectacular raw drone shots can fall flat. Our team at Motion Edges understands the nuances of aerial video editing, ensuring every frame tells a compelling story and meets the highest industry standards.
Whether you’re a seasoned drone pilot or just starting, mastering the art of editing your aerial content is crucial for standing out. This guide will walk you through the essential steps, techniques, and tools needed to elevate your drone videos, making them truly captivating for your audience.
💡 Drone footage often requires specific stabilization and color grading techniques due to factors like wind, sunlight glare, and camera movement. Don’t treat it like standard ground-level video.
How Do You Prepare Drone Footage for Editing?
Preparing drone footage for editing involves organizing files, reviewing clips for quality, creating proxies for large files, and performing initial color correction. This pre-editing phase ensures a smooth post-production workflow, saving significant time and effort. It’s about setting a strong foundation for your aerial videography project, making it easier to how to edit drone footage professionally later on.
Organizing Your Raw Drone Files
Before you even open your editing software, a systematic approach to file management is paramount. Start by creating a dedicated project folder. Within this, establish subfolders for your raw drone footage, audio, music, graphics, and project files. Rename your clips logically, perhaps by date, location, or shot type (e.g., ‘20260527_BeachFlyover_001.mp4’). This meticulous organization prevents headaches later and helps you quickly locate specific shots. For large projects or extensive aerial videography, consider using a digital asset management (DAM) system or simply a well-structured folder hierarchy.
Reviewing and Selecting the Best Takes
Not every drone shot will be perfect, and that’s okay. Go through all your raw footage meticulously. Look for shots that are stable, well-exposed, in focus, and align with your narrative. Discard any shaky, blurry, over/under-exposed, or irrelevant clips. This culling process is vital; it reduces the workload and ensures you’re only working with the highest quality material. Remember, even professional drone pilots capture more footage than they use. Be ruthless in your selection.
Creating Proxies for Smoother Workflow
High-resolution drone footage, especially 4K or 6K, can be demanding on your computer’s processing power. To avoid lag and stuttering during editing, create proxy files. Proxies are smaller, lower-resolution versions of your original clips that your editing software can use for real-time playback. Once your edit is complete, you simply reconnect to the original high-resolution files for export. Most professional editing software like Adobe Premiere Pro and DaVinci Resolve offer built-in proxy workflows.
⚠️ Never delete your original high-resolution drone footage after creating proxies. Always keep backups of your raw files on separate drives.
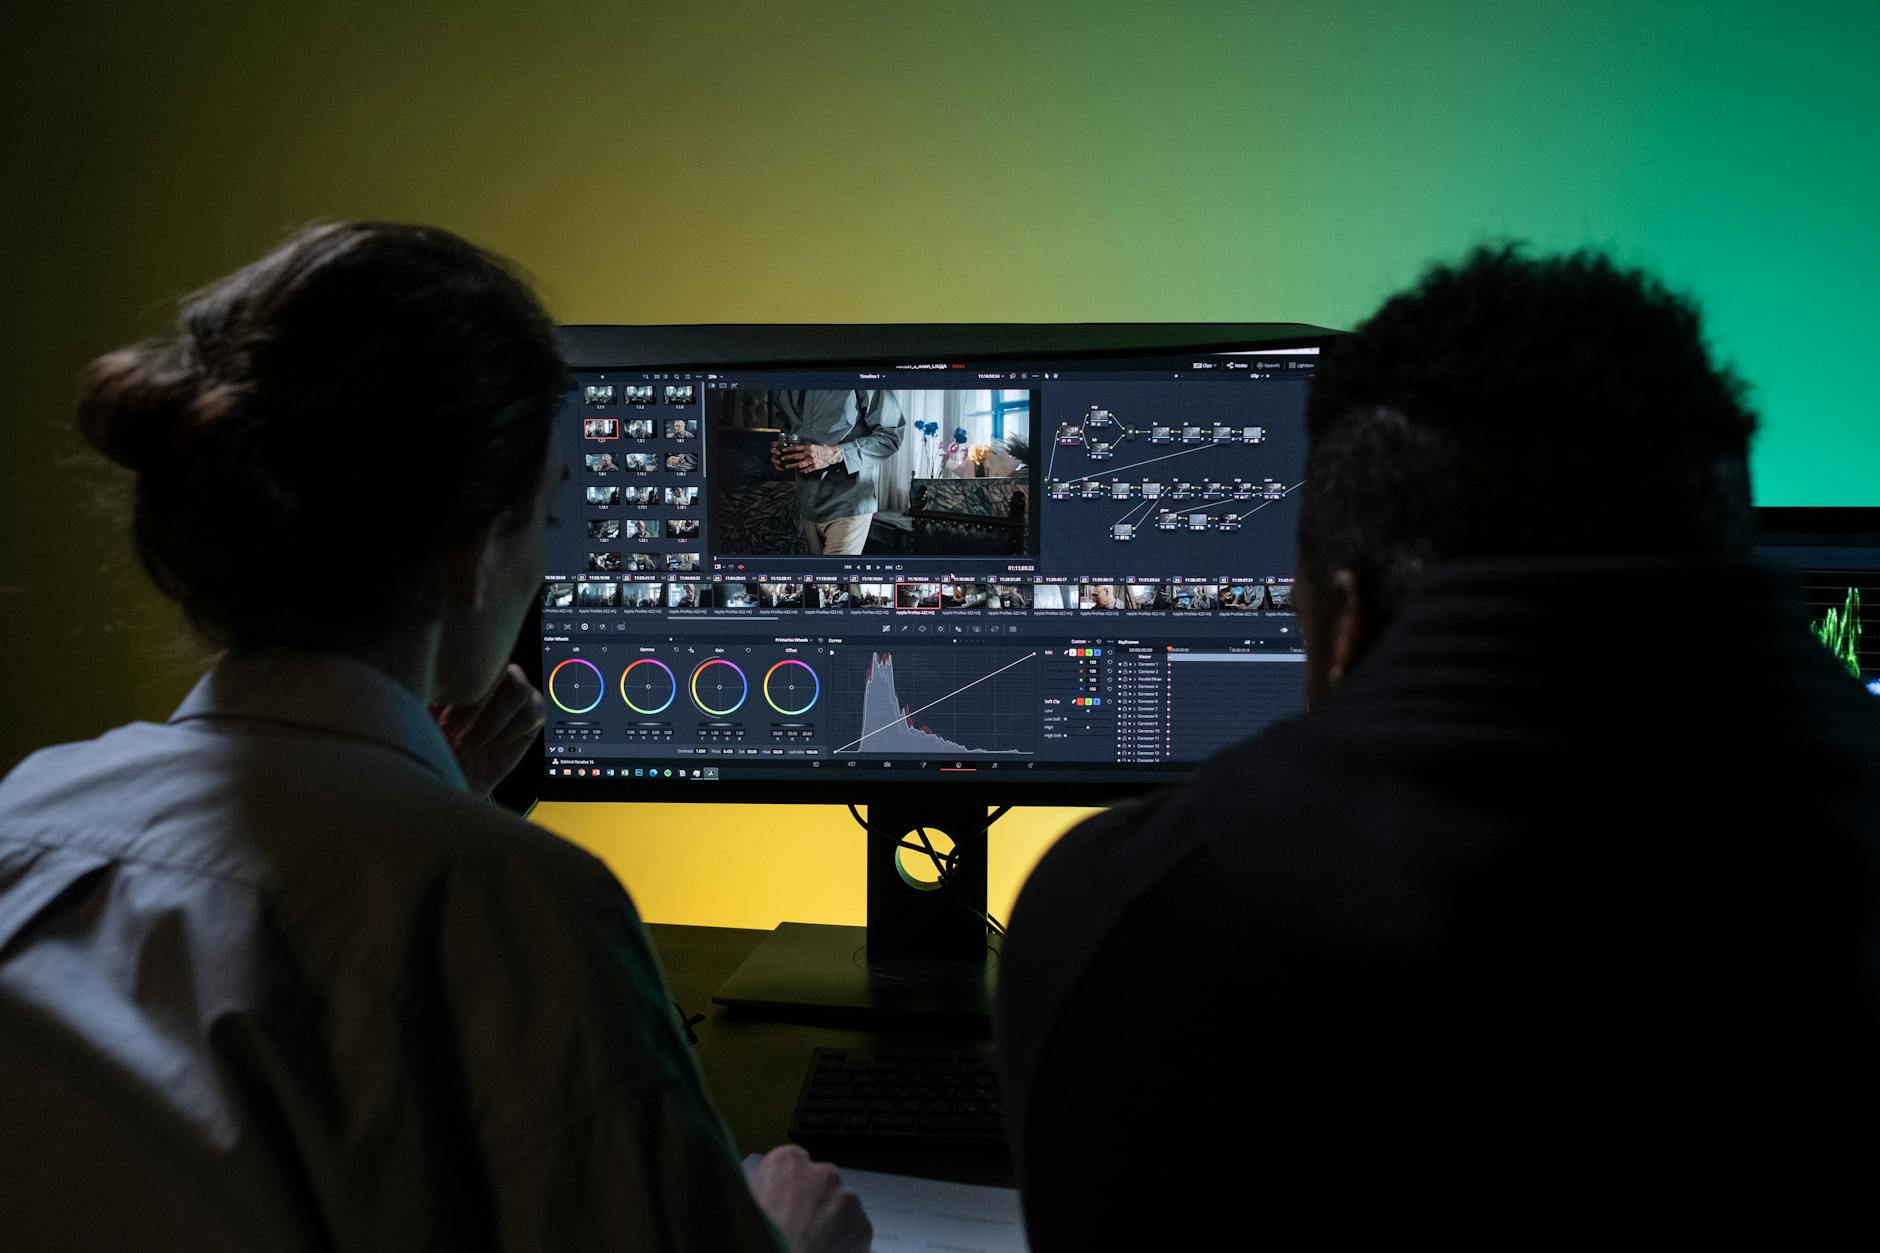
A professional editor meticulously reviewing drone footage on a timeline.
What Are the Essential Techniques for Editing Drone Footage?
Essential techniques for editing drone footage include stabilization to remove shakes, color grading to enhance visual appeal, smooth transitions for narrative flow, and speed ramping for dramatic effect. Mastering these elements transforms raw aerial shots into cinematic sequences, crucial for professional video production and showcasing how to edit drone footage professionally.
Stabilizing Shaky Aerial Shots
Even with advanced gimbals, drone footage can suffer from minor shakes caused by wind or sudden movements. Software stabilization is your best friend here. Tools like Adobe Premiere Pro’s Warp Stabilizer, DaVinci Resolve’s stabilizer, or Final Cut Pro X’s built-in stabilization can work wonders. Apply these effects judiciously; over-stabilization can introduce a warped, jelly-like effect. Our experts often use a combination of in-camera stabilization and subtle post-production adjustments for the smoothest results.
Crafting Engaging Narrative Flow with Pacing and Transitions
A compelling drone video isn’t just a collection of pretty shots; it tells a story. Pay close attention to pacing. Vary your shot durations; slow, sweeping shots for establishing grandeur, quicker cuts for action or revealing details. Use transitions wisely. Simple cuts are often best, but subtle dissolves or wipes can enhance mood. Avoid overly flashy or distracting transitions that detract from the aerial videography itself. Think about how each shot contributes to the overall message. For clients looking for highly polished narratives, our professional editing services focus heavily on this storytelling aspect.
Mastering Speed Ramping and Time-Lapses
Speed ramping is a powerful technique for drone footage, allowing you to fluidly change playback speed within a single clip. Imagine a slow, majestic ascent into a fast-paced dive, or a quick reveal that slows down for emphasis. This adds dynamic energy and can highlight key moments. Similarly, drone time-lapses, capturing slow-moving clouds or bustling cityscapes from above, offer a unique perspective that captivates viewers.
| Editing Technique | Purpose in Drone Footage | Recommended Software Tool |
|---|---|---|
| Stabilization | Remove camera shake, smooth motion | Warp Stabilizer (Premiere Pro), Stabilizer (DaVinci Resolve) |
| Color Grading | Enhance mood, correct exposure, achieve cinematic look | Lumetri Color (Premiere Pro), Color Page (DaVinci Resolve) |
| Speed Ramping | Create dramatic effect, emphasize motion | Time Remapping (Premiere Pro), Speed Ramps (DaVinci Resolve) |
| Noise Reduction | Clean up grainy footage, especially in low light | Neat Video, built-in NR (DaVinci Resolve) |
Which Software Is Best for Professional Drone Video Editing?
For professional drone video editing, industry-standard software like Adobe Premiere Pro, DaVinci Resolve, and Final Cut Pro X are highly recommended. These platforms offer robust tools for color correction, stabilization, motion graphics, and audio mixing, providing comprehensive solutions for advanced aerial videography post-production, essential for anyone learning how to edit drone footage professionally.
Adobe Premiere Pro: The Industry Standard
Adobe Premiere Pro is a powerhouse, widely used across the film and video industry. Its comprehensive toolset, excellent integration with other Adobe applications (like After Effects for motion graphics and Photoshop for stills), and powerful proxy workflow make it ideal for complex drone projects. The Lumetri Color panel offers extensive color grading capabilities, and the Warp Stabilizer is excellent for smoothing out aerial footage. It’s a subscription-based model, offering continuous updates and cloud integration.
- Import Your Footage. Drag and drop your organized drone clips into the Project panel.
- Create Proxies (Optional but Recommended). Right-click selected clips, choose ‘Proxy’, then ‘Create Proxies’.
- Assemble Your Sequence. Drag clips to the timeline to build your narrative. Focus on pacing and shot selection.
- Stabilize as Needed. Apply ‘Warp Stabilizer’ to shaky clips from the Effects panel. Adjust settings for optimal smoothness.
- Perform Color Correction. Use the Lumetri Color panel to adjust exposure, contrast, and white balance.
- Add Music and Sound Effects. Enhance the mood with appropriate audio tracks.
- Refine and Export. Review your edit, make final tweaks, and export in your desired format.
DaVinci Resolve: The Color Grading Champion
Originally known for its unparalleled color grading capabilities, DaVinci Resolve has evolved into a full-fledged non-linear editing (NLE) suite. It offers a free version that is surprisingly robust, making it a fantastic option for those on a budget or looking to master professional color grading. The paid Studio version unlocks advanced features like noise reduction, AI tools, and more GPU acceleration. Its ‘Color’ page is unmatched for finessing the look of your aerial videography.
Final Cut Pro X: Apple’s Intuitive Editor
Exclusive to macOS, Final Cut Pro X is celebrated for its intuitive magnetic timeline and speed. It’s particularly favored by many independent creators and those within the Apple ecosystem. While it might have a steeper learning curve for users coming from traditional NLEs, its performance with ProRes footage and streamlined workflow can significantly speed up editing. It includes powerful built-in stabilization and color correction tools, making it a strong contender for professional drone video editing.
✅ Experiment with different software trials to find the one that best suits your workflow and computer specifications. Each has its strengths!
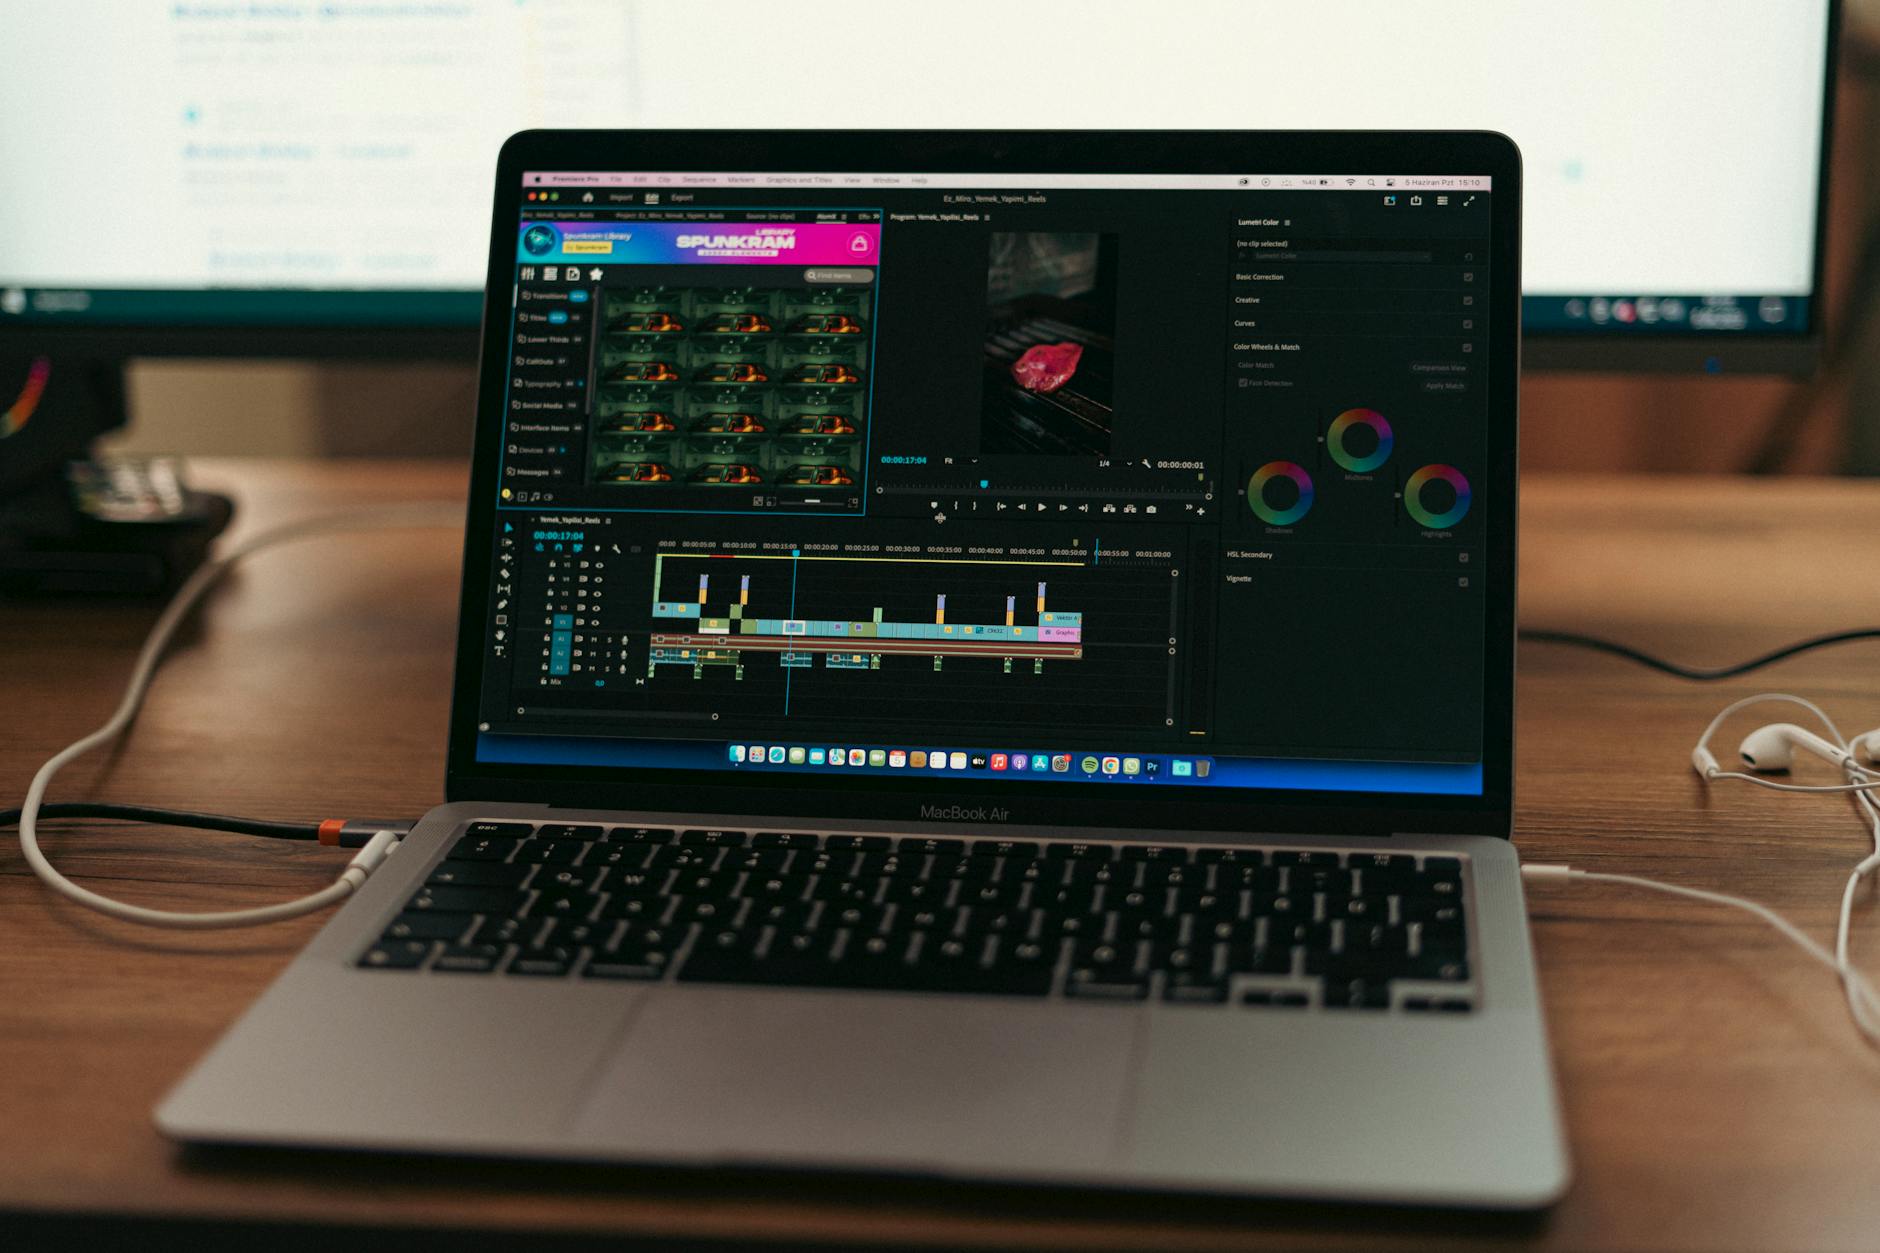
A video editor applying advanced color grading to drone footage in DaVinci Resolve.
How Can You Enhance Drone Footage with Color Grading and Visual Effects?
Enhancing drone footage with color grading and visual effects involves applying LUTs, adjusting exposure, contrast, and saturation, and using effects like lens flares or subtle motion graphics. Professional color grading establishes mood and consistency, while judicious VFX can add depth and polish, making your aerial videography truly stand out and demonstrating how to edit drone footage professionally.
The Art of Color Grading for Aerial Videography
Color grading is where your drone footage truly comes alive. It’s more than just correcting colors; it’s about setting the mood, enhancing visual impact, and ensuring consistency across all your shots. Start with basic color correction: white balance, exposure, and contrast. Then move into creative grading. Consider using Look Up Tables (LUTs) as a starting point, but always fine-tune them. Adjust highlights, shadows, midtones, and saturation to achieve a cinematic look. For instance, cool tones can evoke drama, while warm tones suggest vibrancy. This is an area where our team excels, delivering stunning visual narratives.
Leveraging Visual Effects (VFX) Sparingly
While drone footage is often impressive on its own, subtle VFX can elevate it further. This isn’t about explosions or sci-fi elements but rather refining the visual experience. Think about:
- Sky Replacement: If a drone shot has a dull sky, you can subtly replace it with a more dramatic one.
- Object Removal: Removing distracting elements like power lines or small reflections.
- Light Leaks/Lens Flares: Used sparingly, these can add a natural, cinematic feel.
- Motion Graphics: Integrating text overlays, lower thirds, or animated logos for branding.
The key is subtlety. VFX should enhance, not distract. Overdoing it can make your professional drone footage look artificial.
Adding Professional Audio and Music
Don’t underestimate the power of sound. Since drones typically don’t record usable on-board audio, you’ll rely heavily on music and sound design. Choose music that complements the mood and pace of your aerial videography. Use sound effects (whooshes, wind, ambient city sounds) to add realism and immersion. Mix your audio carefully, ensuring music levels are appropriate and sound effects enhance without overpowering. High-quality audio is a hallmark of any video edited professionally.
What Are the Best Practices for Exporting and Delivering Drone Videos?
Best practices for exporting and delivering drone videos include choosing the correct resolution, bitrate, and codec for the intended platform, such as YouTube or client delivery. Ensuring proper aspect ratios, file naming conventions, and quality control checks before final output guarantees a professional presentation of your aerial videography, solidifying your understanding of how to edit drone footage professionally.
Choosing the Right Export Settings
Export settings are critical. The ideal settings depend on where your drone video will be viewed. For YouTube or Vimeo, H.264 or H.265 (HEVC) codecs are standard, often at a 4K resolution (if shot in 4K) with a variable bitrate. For client deliverables, especially for broadcast or high-quality archives, ProRes or DNxHD codecs might be preferred, though these result in much larger files. Always export at the original frame rate of your footage. Using transparent pricing, we ensure our clients receive files optimized for their specific platforms.
Quality Control and Final Review
Before hitting that final export button, conduct a thorough quality control (QC) check. Watch your entire drone video from start to finish, looking for any errors: missed glitches, audio pops, color shifts, or typos in text. It’s often helpful to watch it on different screens (computer, TV, phone) to ensure it looks consistent. A fresh pair of eyes can also catch mistakes you’ve overlooked. Our team performs multiple QC passes to guarantee flawless delivery.
Delivering to Clients and Platforms
For client delivery, use reliable cloud storage solutions like Google Drive, Dropbox, or WeTransfer for large files. Always provide clear file names and specify the resolution and intended use. If uploading to platforms like YouTube, optimize your video with a compelling title, description, and relevant tags to maximize visibility. Consider embedding your best work on your website or in a dedicated see our portfolio section to showcase your expertise. If you’re struggling with delivering professional results consistently, don’t hesitate to get in touch with our team for assistance.
💡 Always keep a master copy of your exported drone video in a high-quality, uncompressed format for archival purposes, even if you deliver compressed versions.
Mastering how to edit drone footage professionally is a journey that combines technical skill with creative vision. By following these steps from preparation to export, you can transform your raw aerial captures into stunning, cinematic masterpieces that captivate your audience and elevate your brand. At Motion Edges, we’re passionate about helping creators and businesses achieve their visual goals, ensuring every drone shot tells its most compelling story.
What is the typical resolution for professional drone footage?
Professional drone footage is typically shot and edited in 4K (3840×2160 pixels) or even higher resolutions like 5.2K or 6K. This allows for greater flexibility in post-production, such as reframing or zooming without significant loss of quality, and provides a crisp, detailed final product for viewers on compatible screens.
How long does it take to edit a 5-minute drone video?
Editing a 5-minute professional drone video can take anywhere from 10 to 30 hours, or even more, depending on the complexity. Factors include the amount of raw footage, required stabilization, motion graphics, advanced color grading, client revisions, and the editor’s experience. Extensive post-production work like VFX will significantly extend the timeline.
Do I need special hardware to edit drone footage?
While you don’t always need
Ready to Elevate Your Video Content?
Motion Edges delivers professional video editing that drives engagement and growth. Our dedicated editors learn your style and deliver consistently polished content.
Related Services from Motion Edges
- Talking Head Video Editing in Miami — clean cuts, captions, and b-roll for YouTube creators
- Talking Head Video Editing in Houston — 48-hour delivery, professional results
- View All Video Editing Services