
- Why Are Color Grading Techniques Essential for Beginners?
- What’s the Difference Between Color Correction and Color Grading?
- What Are the Fundamental Color Grading Techniques for Beginners?
- How Can Beginners Achieve a Cinematic Look with Color Grading?
- Which Tools and Workflows Support Effective Color Grading for Beginners?
Published May 26, 2026 · 16 min read
Are you looking to elevate your video projects from amateur to professional? Understanding core color grading techniques for beginners is the secret weapon many content creators overlook. It’s not just about making your footage look ‘good’; it’s about crafting a mood, telling a story, and ensuring every frame resonates with your audience. For those just starting out in video editing, the world of color can seem daunting, but with the right guidance, you’ll be creating stunning visuals in no time.
At Motion Edges, we understand the power of visual storytelling. Our experience shows that even subtle color adjustments can dramatically alter viewer perception, making your content more engaging and impactful. We’re here to demystify the process, providing clear, actionable insights into how you can start applying professional-level color to your own videos.
💡 **Insight:** Color grading isn’t just a technical step, it’s a creative art form that directly influences the emotional impact and perceived quality of your video content.
Why Are Color Grading Techniques Essential for Beginners?
Color grading techniques are essential for beginners because they provide the fundamental skills to transform raw video footage into polished, professional-looking content that captivates audiences. Mastering these techniques allows you to correct inconsistencies, establish a consistent visual style, and evoke specific emotions, significantly enhancing your video’s overall quality and storytelling power, even with basic equipment.
Imagine filming a beautiful sunset, only to find the recorded footage looks flat and dull. This is where color grading comes in. It’s the post-production process that refines and enhances the color of your video, turning ordinary shots into extraordinary cinematic experiences. For beginners, it’s about learning to see color not just as an aesthetic choice, but as a powerful storytelling tool.
Beyond Basic Color Correction
While often confused, color grading goes far beyond simple color correction. Color correction is about fixing technical issues: adjusting white balance, exposure, and making sure colors are true to life. Color grading, on the other hand, is the creative manipulation of color to achieve a specific mood, style, or visual aesthetic. It’s where you define the ‘look’ of your film, whether it’s a gritty documentary, a vibrant travel vlog, or a dramatic narrative.
Even with entry-level cameras, understanding these fundamental color grading techniques for beginners allows you to squeeze the maximum visual potential out of your footage. It provides a competitive edge, making your videos stand out in a crowded digital landscape. Our team at Motion Edges consistently sees the difference in viewer engagement when a video has been thoughtfully color-graded.
Setting the Visual Tone
Color is intrinsically linked to emotion. Warm tones often convey happiness, energy, or danger, while cool tones can suggest calmness, sadness, or technology. By intentionally adjusting colors, you can subtly guide your audience’s emotional response. This is a critical aspect of visual storytelling. For instance, a horror film might use desaturated colors and harsh shadows to create tension, whereas a romantic comedy might employ bright, vibrant hues to evoke joy and lightheartedness.
Learning how to manipulate these elements gives you immense creative control. It enables you to tell your story not just with dialogue and action, but with the very palette of your visuals. This makes learning effective color grading techniques for beginners a non-negotiable skill for anyone serious about video creation.
What’s the Difference Between Color Correction and Color Grading?
Color correction is the technical process of making video footage look natural and accurate, addressing issues like exposure, white balance, and contrast to ensure colors are true to life. Color grading, by contrast, is the creative process of applying a stylistic ‘look’ or mood to the footage, enhancing its emotional impact and visual storytelling through deliberate color manipulation. They are sequential steps in post-production.
Many beginners use these terms interchangeably, but understanding their distinct roles is crucial for effective post-production. Think of it this way: color correction is the foundation, and color grading is the decorative layer on top. You wouldn’t paint a house before fixing the walls, right? The same principle applies here.
The Foundation: Color Correction
Color correction is about achieving a technically accurate image. This includes:
- White Balance: Ensuring whites appear white, not yellow or blue, and correcting for different lighting conditions.
- Exposure: Adjusting the overall brightness of the image so that details are visible in both highlights and shadows.
- Contrast: Defining the difference between the brightest and darkest parts of your image.
- Color Balance: Ensuring there isn’t an unnatural tint, like too much green or magenta.
This initial stage brings your footage to a neutral, consistent baseline. It’s about fixing problems and making sure your footage is ready for the creative step. Ignoring proper color correction can make your color grading efforts look artificial or messy. It’s a key first step for any of the color grading techniques for beginners you’ll learn.
The Artistry: Color Grading
Once your footage is color-corrected, you move to color grading. This is where you inject personality and style. Color grading involves creative adjustments such as:
- Applying a specific ‘look’: Like a warm, vintage feel or a cool, futuristic aesthetic.
- Manipulating color to evoke mood: Using specific palettes to create tension, joy, melancholy, etc.
- Emphasizing subjects: Drawing attention to key elements by subtly altering their color or the surrounding environment’s color.
- Creating consistency: Ensuring all shots in a scene or project have a unified visual tone, even if shot under different conditions.
This is where your vision truly comes to life. It’s the difference between a simple recording and a piece of visual art. Learning these advanced yet accessible color grading techniques for beginners will open up new avenues for creative expression.
| Feature | Color Correction | Color Grading |
|---|---|---|
| Primary Goal | Technical Accuracy, Neutrality | Creative Styling, Mood Setting |
| Focus | Fixing Problems (Exposure, WB) | Enhancing Aesthetics, Storytelling |
| When Performed | First Step in Post-Production | After Color Correction |
| Tools Used | Basic Sliders, Scopes | Color Wheels, Curves, HSL Qualifiers, LUTs |
| Outcome | Natural, Consistent Footage | Stylized, Emotionally Resonant Footage |
✅ **Tip:** Always perform color correction before color grading. A clean, balanced image provides the best canvas for creative color work.

A perfectly color-graded scene enhances visual storytelling and audience engagement.
What Are the Fundamental Color Grading Techniques for Beginners?
The fundamental color grading techniques for beginners involve mastering primary adjustments like exposure, contrast, saturation, and white balance, followed by secondary adjustments such as hue, saturation, and luminance (HSL) for specific colors. Understanding how to use these tools systematically provides a strong foundation for developing a unique visual style and effectively communicating mood through color in your videos.
Starting with the basics is key. You don’t need complex software or a deep understanding of color science to begin. Most modern video editing software, even free options, offer robust tools for these essential adjustments. Let’s break down the core color grading techniques for beginners.
Mastering Primary Adjustments
These are the global adjustments that affect your entire image. They are typically found at the top of any color panel:
- Exposure: Controls the overall brightness of your image. Be careful not to clip highlights (make them pure white with no detail) or crush shadows (make them pure black with no detail).
- Contrast: Adjusts the difference between light and dark areas. Increasing contrast adds punch, while decreasing it can create a softer, more ethereal look.
- Saturation: Determines the intensity or purity of colors. Boost it for vibrant scenes, or reduce it for a desaturated, moody feel.
- White Balance (Temperature/Tint): Corrects color casts. Temperature shifts between warm (orange) and cool (blue), while Tint adjusts between green and magenta.
- Highlights/Shadows: More granular control over the brightest and darkest parts of your image, allowing you to recover detail or add emphasis without affecting the mid-tones.
Our professional editing services often start with these primary adjustments, ensuring a balanced and clean image before moving to more creative touches. It’s the bedrock of any successful color treatment.
Harnessing Secondary Adjustments
Once your primary adjustments are in place, secondary adjustments allow you to target specific colors or areas of your image. This is where truly creative color grading techniques for beginners begin to shine:
- HSL (Hue, Saturation, Luminance) Curves: These powerful tools let you adjust specific color ranges. You can change the hue (the actual color, e.g., turning green leaves into autumn orange), saturation (intensity of that specific color), or luminance (brightness of that specific color).
- Color Wheels: Often divided into shadows, midtones, and highlights, color wheels allow you to add color tints to specific tonal ranges. For example, adding blue to shadows for a cinematic look, or warmth to highlights for a golden hour feel.
- Vignettes: Darkening or lightening the edges of your frame to draw the viewer’s eye towards the center.
Practicing these adjustments will give you immense control over your visual output. Remember, even small changes can make a big difference.
- Start with Color Correction. Adjust white balance and exposure until your footage looks natural and balanced. Use scopes (like a waveform monitor or vectorscope) if your software has them to ensure technical accuracy.
- Establish Overall Contrast and Brightness. Use global contrast and brightness sliders to set the overall punch and light levels of your scene.
- Set the Mood with Primary Color Wheels. Add subtle color tints to your shadows, midtones, and highlights using the color wheels to define your desired aesthetic.
- Refine Specific Colors with HSL. Use HSL sliders or curves to target and adjust individual colors, such as making skies bluer or skin tones more pleasing.
- Add Creative Touches. Experiment with vignettes, grain, or subtle split toning to enhance the cinematic feel.
- Review and Adjust. Step away for a moment, then come back to your footage with fresh eyes. Compare it to your original vision and make final tweaks.
⚠️ **Warning:** Over-grading is a common beginner mistake. Subtle, intentional adjustments are almost always more effective than extreme color shifts. Aim for natural enhancements first.
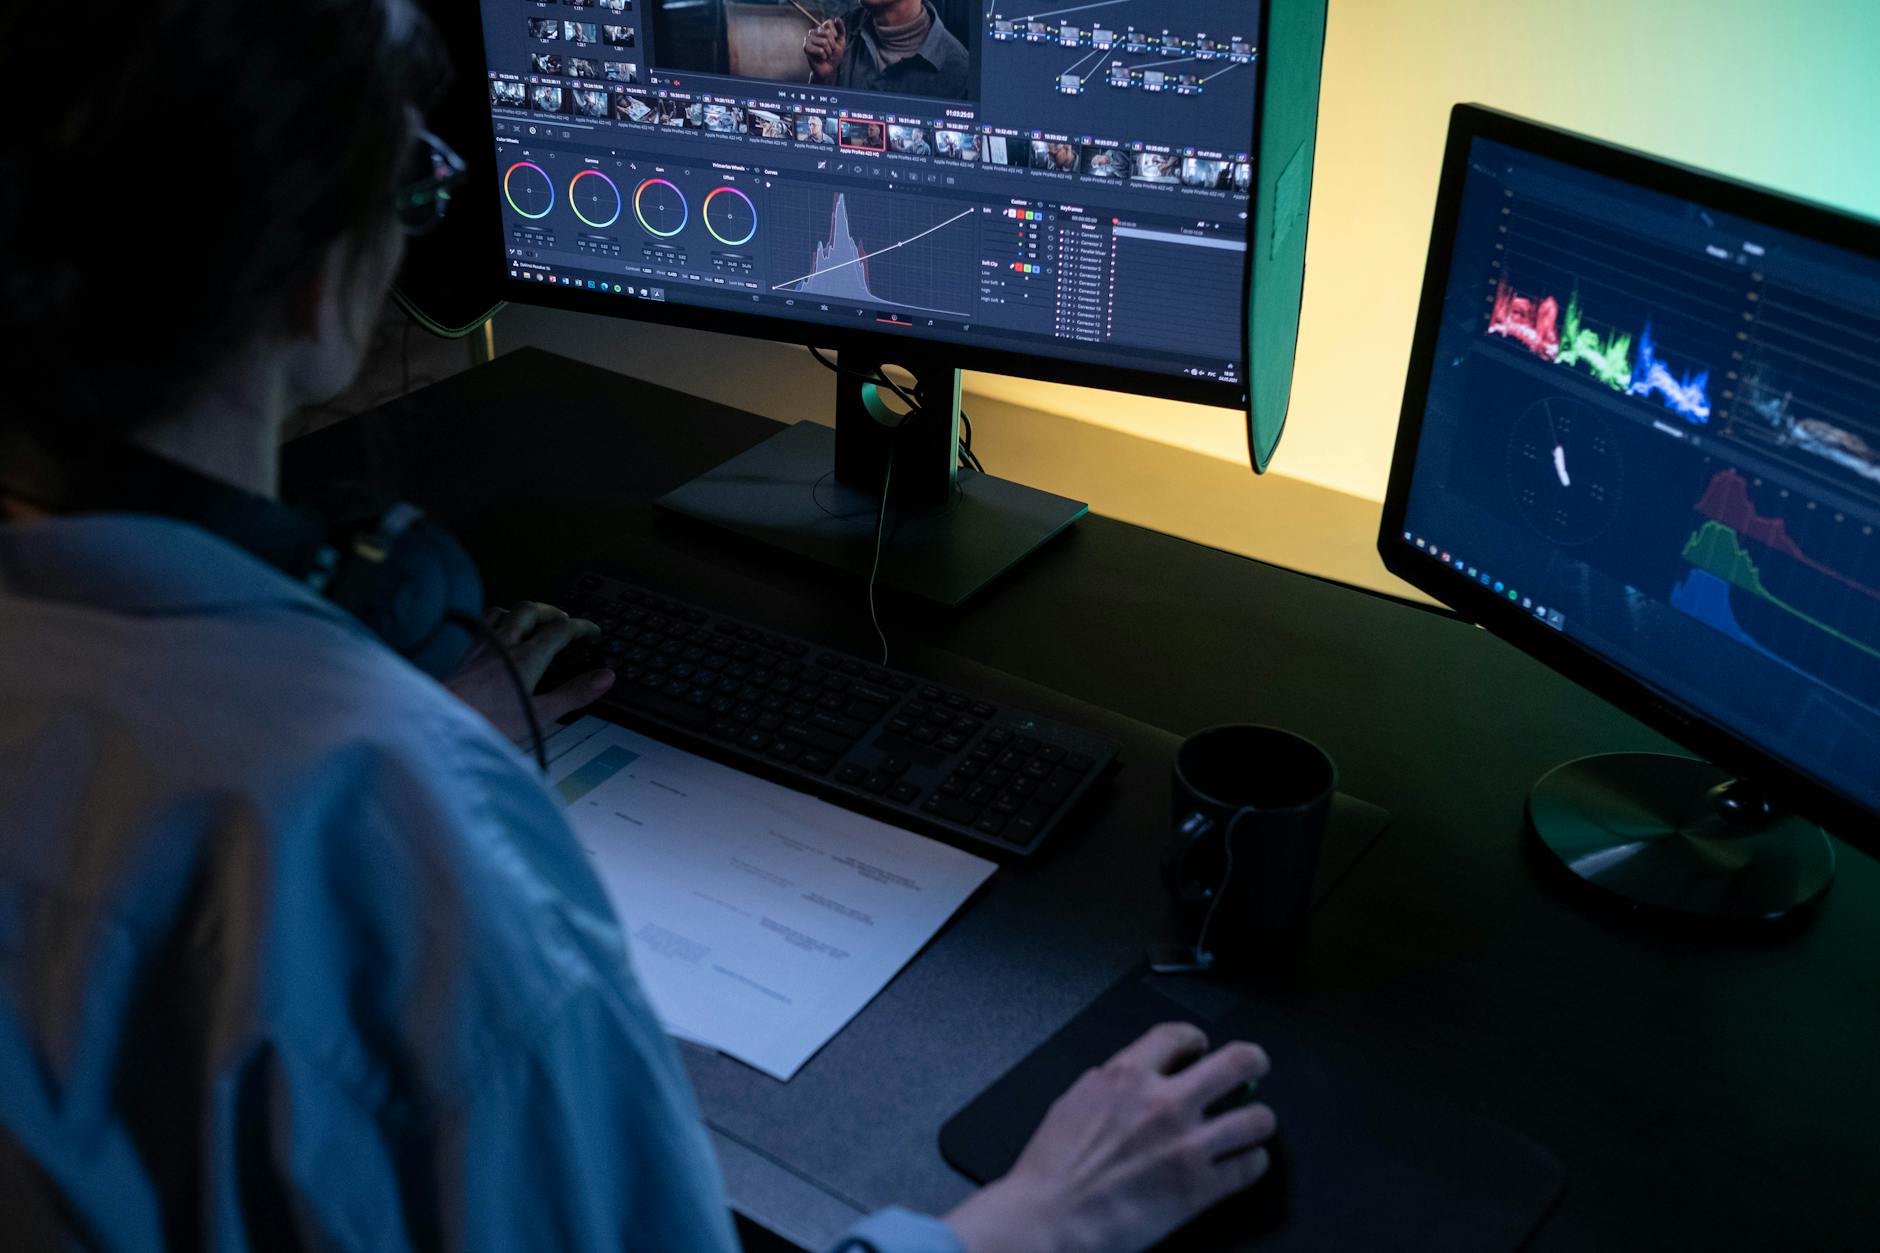
Careful use of HSL adjustments can transform specific elements of your video.
How Can Beginners Achieve a Cinematic Look with Color Grading?
Beginners can achieve a cinematic look with color grading by understanding basic color theory, utilizing color palettes that evoke specific moods, and experimenting with tools like Look Up Tables (LUTs) and split toning. Focusing on subtle yet impactful adjustments to contrast, saturation, and color temperature can significantly elevate the visual quality, making footage appear more polished and professionally produced, mirroring the aesthetics of feature films.
The ‘cinematic look’ is often the holy grail for budding video editors. It’s that polished, high-quality aesthetic that distinguishes professional films and series. Achieving it isn’t about expensive gear, but about intelligent application of color grading techniques for beginners. Let’s explore how.
Understanding Color Theory and Moods
At the heart of cinematic color grading is color theory. Certain color combinations and palettes are inherently more pleasing or impactful. Common cinematic looks often involve complementary colors (e.g., teal and orange), desaturated tones, or specific monochrome palettes. Researching film stills and understanding the color choices made by professional cinematographers can be incredibly insightful.
- Teal and Orange: A classic Hollywood look, where skin tones are pushed towards orange, and backgrounds are shifted to teal/blue. This creates a strong contrast and makes subjects pop.
- Desaturated Tones: Often used in dramas or thrillers to create a gritty, realistic, or melancholic mood.
- Monochromatic Palettes: Using variations of a single color to evoke a distinct atmosphere.
By consciously choosing a color palette that aligns with your story’s emotional arc, you can elevate your video’s impact. Our portfolio showcases how thoughtful color choices contribute to strong visual narratives.
Leveraging LUTs (Look Up Tables)
LUTs are essentially color presets that can instantly apply a specific look to your footage. They can be a fantastic shortcut for beginners to achieve complex color grades quickly. Many professional editors use LUTs as a starting point, then fine-tune them to match their specific footage.
- Correction LUTs: These are designed to convert flat, log footage (shot on professional cameras) into a more standard Rec.709 color space.
- Creative LUTs: These apply specific stylistic looks, mimicking popular film stocks or cinematic styles.
While LUTs are powerful, use them wisely. Don’t just slap a LUT on and call it a day. Always apply your LUT *after* color correction, and be prepared to adjust its intensity and fine-tune other settings to ensure it blends seamlessly with your footage. This nuanced approach separates true mastery of color grading techniques for beginners from simply applying a filter.
The Power of Split Toning
Split toning is a technique that involves adding different color tints to the highlights and shadows of your image. This can create a sophisticated cinematic look, often seen in film photography and high-end video production. For example, adding a warm tint to highlights and a cool tint to shadows can enhance depth and mood, especially with the teal and orange look.
Most editing software offers split toning controls, allowing you to select a hue and saturation for both your highlights and shadows independently. Experimenting with different combinations can yield stunning results, adding a professional polish that is easily achievable even for beginners.
Which Tools and Workflows Support Effective Color Grading for Beginners?
Effective color grading for beginners is supported by accessible software like DaVinci Resolve (free version), Adobe Premiere Pro, or CapCut, coupled with an understanding of essential tools like color wheels, curves, and HSL sliders. Adopting a systematic workflow, starting with color correction and progressing to creative grading, ensures consistent, high-quality results. Utilizing scopes for objective analysis and drawing inspiration from professional works further enhances learning and output.
You don’t need a Hollywood budget to start color grading. There are excellent tools and workflows available that cater specifically to beginners, enabling you to apply advanced color grading techniques for beginners without a steep learning curve.
Essential Software and Scopes
The good news is that powerful color grading tools are often built directly into popular video editing software:
- DaVinci Resolve (Free Version): Widely considered the industry standard for color grading, its free version is incredibly robust and capable. It has a steeper learning curve than some, but the results are unparalleled.
- Adobe Premiere Pro (Lumetri Color Panel): A popular choice for many editors, Premiere Pro’s Lumetri Color panel is intuitive and integrated, offering everything from basic corrections to advanced HSL adjustments and LUT support.
- Final Cut Pro (Color Board/Color Wheels): Apple’s professional editing software also features powerful, user-friendly color tools.
- CapCut/VN Video Editor (Mobile): For mobile-first creators, these apps offer surprisingly capable color adjustment features that are great for quick, impactful edits.
Beyond the primary controls, understanding video scopes is crucial. Tools like waveform monitors, vectorscopes, and histograms provide objective data about your image’s exposure, color balance, and saturation. They help you make precise adjustments, ensuring your colors are technically correct and broadcast-safe, rather than relying solely on your eye, which can be fooled by monitor calibration.
Developing a Consistent Workflow
A systematic approach is vital for consistent results. We recommend the following workflow, which incorporates effective color grading techniques for beginners:
- Organize Footage: Ensure all your clips are properly named and sorted.
- Perform Initial Edits: Assemble your rough cut and make all necessary cuts and transitions.
- Color Correct: Go through each clip and correct white balance, exposure, and basic contrast to a neutral, consistent baseline.
- Apply Global Grade: Apply your overall creative look across the entire timeline or to specific scenes.
- Refine Secondary Adjustments: Make targeted adjustments to specific colors or areas (e.g., skin tones, sky).
- Add Finishing Touches: Grain, vignettes, or subtle glows to enhance the cinematic feel.
- Review and Export: Play back your video on different screens (TV, phone) to ensure your grade translates well.
This structured approach not only makes the process more efficient but also ensures that your final video maintains a cohesive and professional visual identity. If you ever find yourself needing expert help or want to offload this intensive process, remember our team at Motion Edges offers our professional editing services, tailored to bring your vision to life.
Learning from the Pros
One of the best ways to improve your skills is to analyze and emulate. Watch your favorite films and pay close attention to their color. How do the colors contribute to the story? What mood do they evoke? Try to replicate those looks on your own footage.
There are also countless tutorials online for specific software and techniques. Don’t be afraid to experiment. The more you practice these color grading techniques for beginners, the more intuitive the process will become. Our see our portfolio to get a sense of the diverse range of looks we can achieve for different clients and projects, providing you with inspiration for your own work. We believe in transparent communication and offer transparent pricing, so you always know what to expect when working with us.
💡 **Insight:** Consistency is key. A uniform color grade across all your video assets builds brand recognition and professionalism, making your content immediately identifiable.
Mastering color grading techniques for beginners is an exciting journey that will fundamentally change the way you approach video production. It’s about more than just aesthetics; it’s about adding depth, emotion, and professionalism to every frame. By understanding the distinction between color correction and grading, mastering primary and secondary adjustments, and following a structured workflow, you’re well on your way to creating truly cinematic videos.
Don’t be afraid to experiment, learn from others, and practice consistently. The visual impact you can achieve with thoughtful color grading is immense, elevating your storytelling to new heights. If you’re ready to take your video projects to the next level but prefer to leave the technical intricacies to the experts, don’t hesitate to get in touch with our team at Motion Edges. We’re here to help you create stunning, impactful visuals.
What is the easiest software for color grading for beginners?
For beginners, DaVinci Resolve’s free version is often recommended due to its powerful color grading capabilities, even though it has a steeper learning curve than some. Adobe Premiere Pro’s Lumetri Color panel is also very user-friendly and integrated directly into the editing timeline, making it an excellent choice for those already familiar with Adobe products.
How long does it take to learn basic color grading?
Learning basic color grading can take anywhere from a few hours to a few weeks of dedicated practice. You can grasp the fundamental concepts of exposure, white balance, contrast, and saturation in a single session, but developing an ‘eye’ for color and mastering secondary adjustments requires consistent experimentation and study.
Can I color grade footage shot on a phone?
Yes, absolutely! While professional cameras offer more color data (e.g., log profiles), you can significantly enhance footage shot on a phone using basic color grading techniques. Mobile apps like CapCut or VN Video Editor offer robust color tools, and even desktop software like Premiere Pro or Resolve can work wonders on phone footage.
What are LUTs and how do beginners use them?
LUTs (Look Up Tables) are color presets that apply a specific color transformation or ‘look’ to your footage. Beginners can use them to quickly achieve cinematic styles or correct flat log footage. It’s best to apply a LUT after basic color correction and then fine-tune its intensity and other color settings to best suit your video.
Should I color correct or color grade first?
Always color correct first. Color correction is the technical process of making your footage look natural and balanced, fixing issues like exposure and white balance. Once your footage is technically sound, you then move on to color grading, which is the creative process of applying a stylistic look or mood.
Ready to Elevate Your Video Content?
Motion Edges delivers professional video editing that drives engagement and growth. Our dedicated editors learn your style and deliver consistently polished content.
Related Services from Motion Edges
- Talking Head Video Editing in Austin — clean cuts, captions, and b-roll for YouTube creators
- Talking Head Video Editing in New York — 48-hour delivery, professional results
- View All Video Editing Services