- Why Professional Editing Makes or Breaks Your YouTube Channel
- Choosing the Right Editing Software for YouTube
- How to Edit YouTube Videos Professionally: A Step-by-Step Workflow
- Common Mistakes That Make YouTube Videos Look Amateur
- When to Outsource Your YouTube Video Editing
- Final Thoughts on Editing YouTube Videos Professionally
How to Edit YouTube Videos Professionally in 2026
If you want to grow on YouTube, knowing how to edit YouTube videos professionally is no longer optional , it’s the difference between a viewer clicking away in three seconds and watching your entire video. In 2026, audiences are more discerning than ever. They’ve been conditioned by Netflix, high-budget creators, and branded content to expect clean cuts, crisp audio, and purposeful pacing. The good news? You don’t need a Hollywood budget. You need the right workflow, the right tools, and , when time is short , the right editing partner. At Motion Edges, we’ve edited hundreds of YouTube videos across niches from finance and fitness to travel and tech. This guide distils what actually works.
Why Professional Editing Makes or Breaks Your YouTube Channel
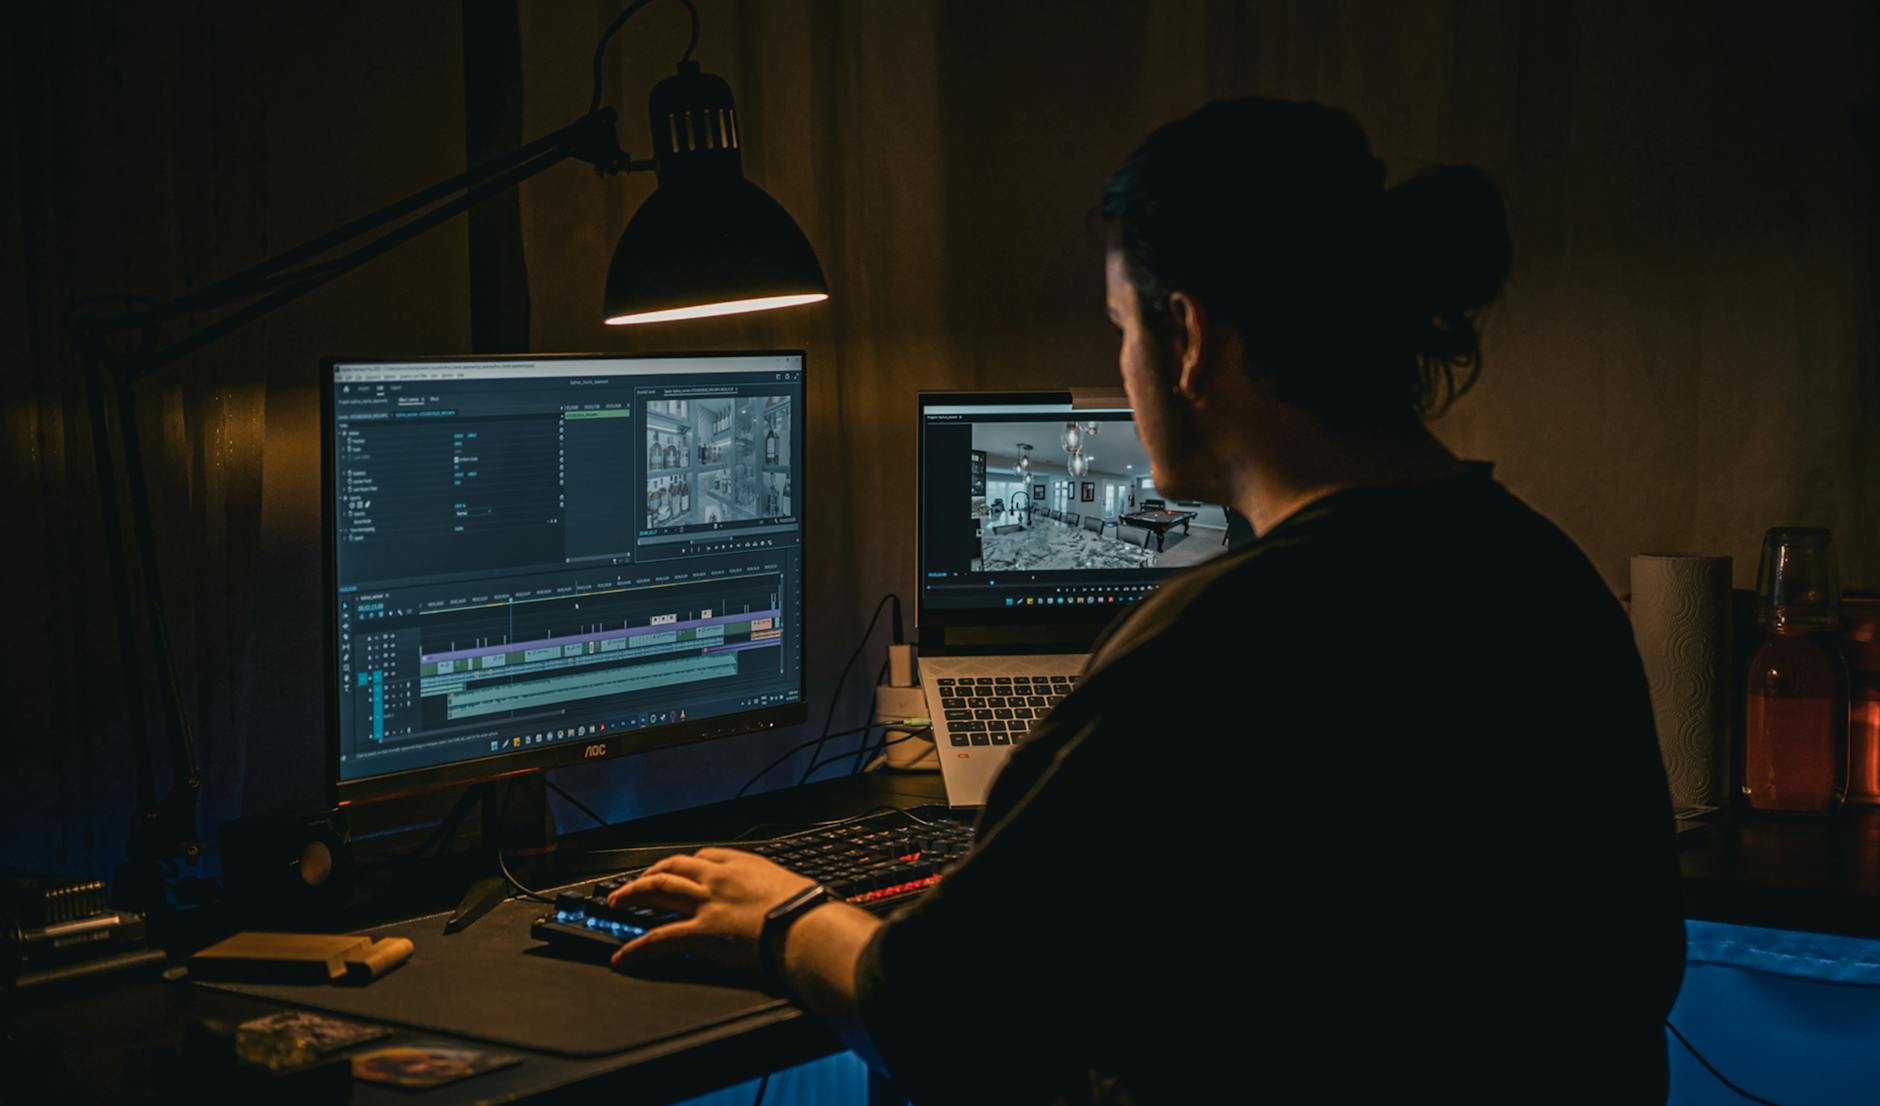
Retention is YouTube’s most important ranking signal. If your editing is sloppy , long silences, shaky cuts, mismatched audio levels , viewers leave. YouTube’s algorithm reads that exit as a signal that your content isn’t worth promoting, and your reach shrinks accordingly.
Professional editing does several things simultaneously:
- It maintains pace. Tight cuts keep energy high and viewers engaged.
- It builds trust. Polished visuals signal that you take your content seriously.
- It reinforces your brand. Consistent colour grading, intro animations, and lower thirds make you recognisable across every upload.
- It improves accessibility. Good audio mixing and accurate captions open your content to a wider audience.
The creators who treat editing as an afterthought are the ones who plateau at a few thousand subscribers. The ones who invest in quality , whether by learning the craft themselves or outsourcing to a professional team , are the ones who scale.
Choosing the Right Editing Software for YouTube
Before you can edit professionally, you need the right tools. Here’s an honest breakdown of the main options in 2026:
Adobe Premiere Pro
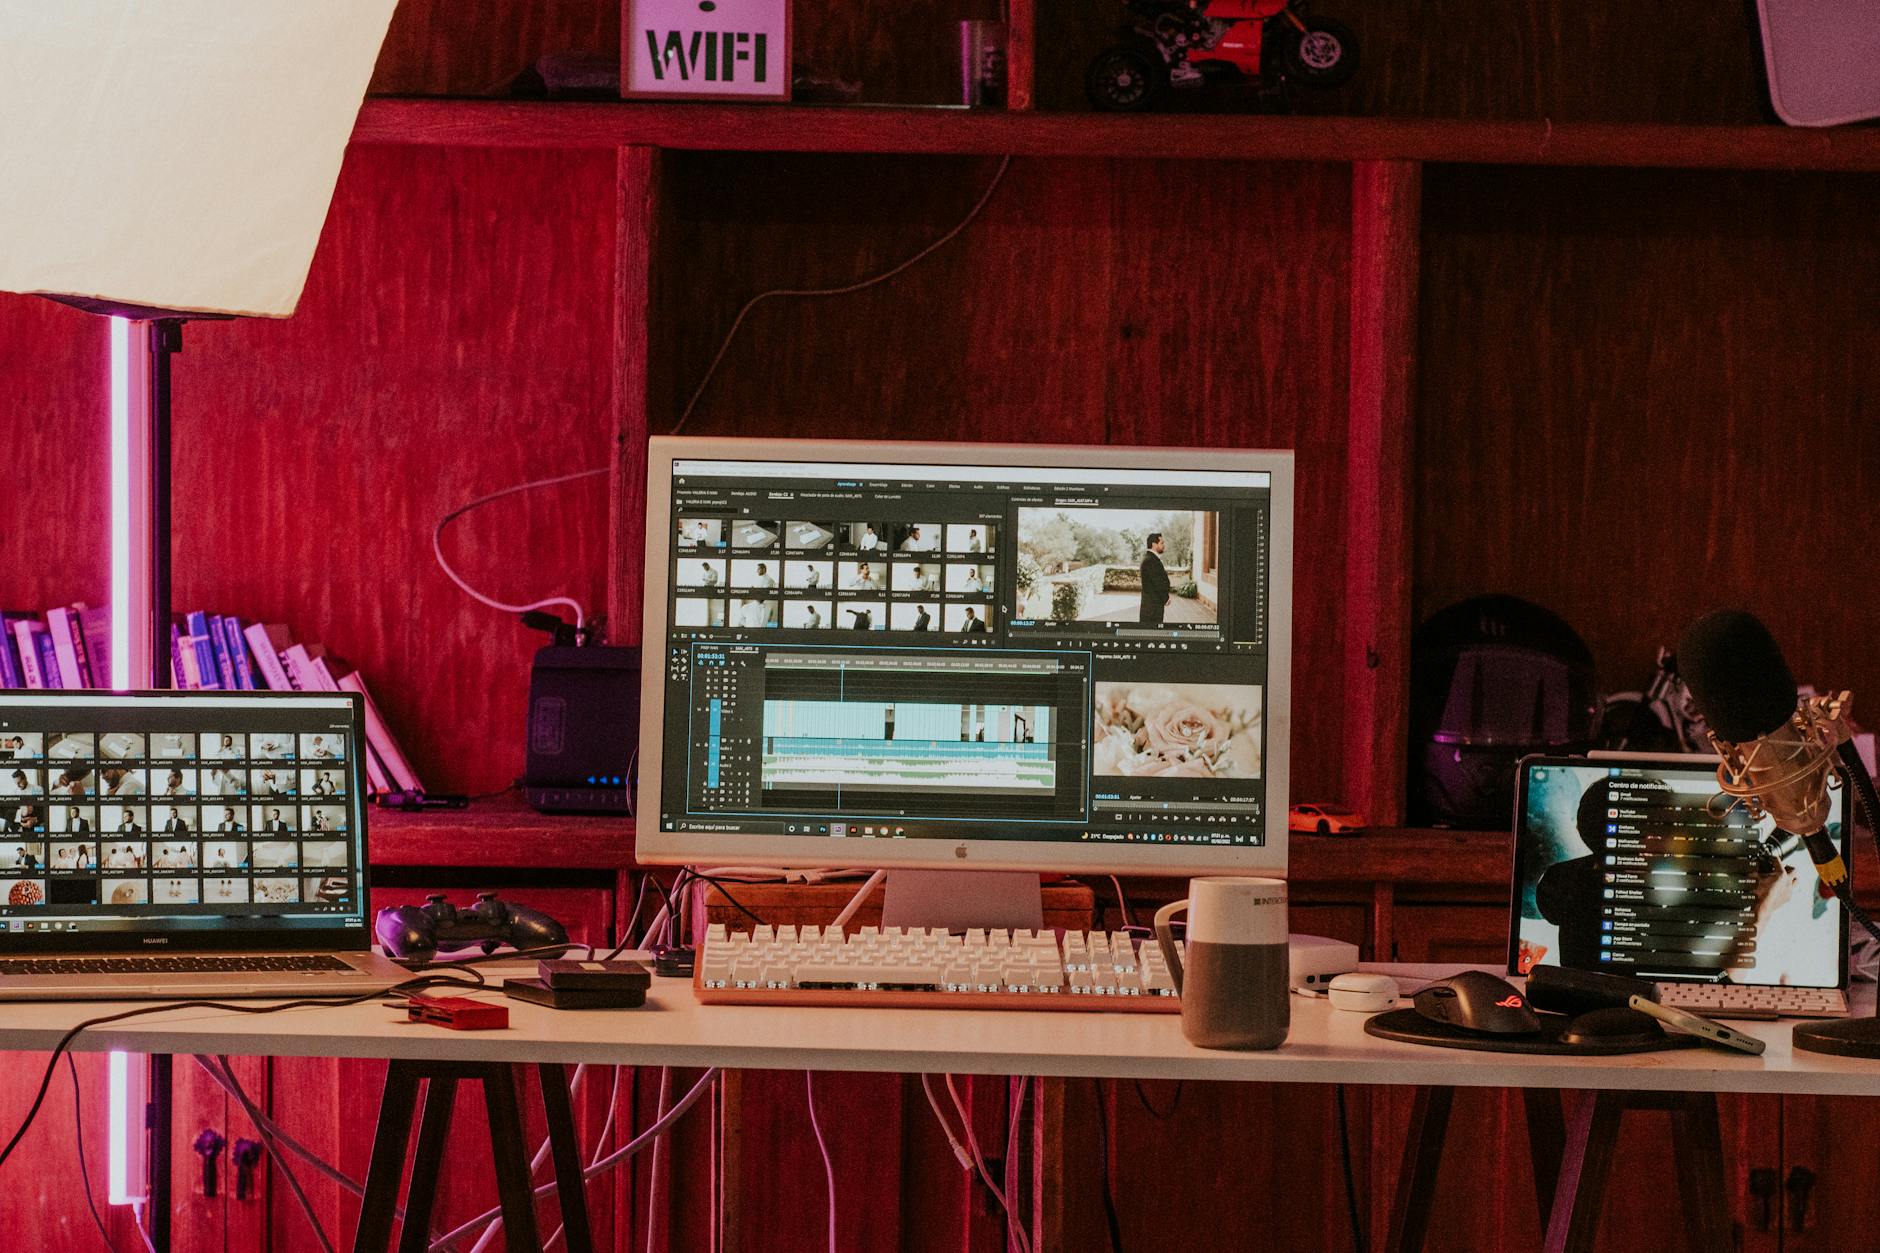
The industry standard for a reason. Premiere Pro integrates seamlessly with After Effects for motion graphics, Audition for audio cleanup, and Photoshop for thumbnails. The learning curve is real, but if you’re serious about YouTube as a long-term career, it’s worth the investment. The Auto Reframe and AI-powered speech-to-text caption tools have improved dramatically this year.
DaVinci Resolve
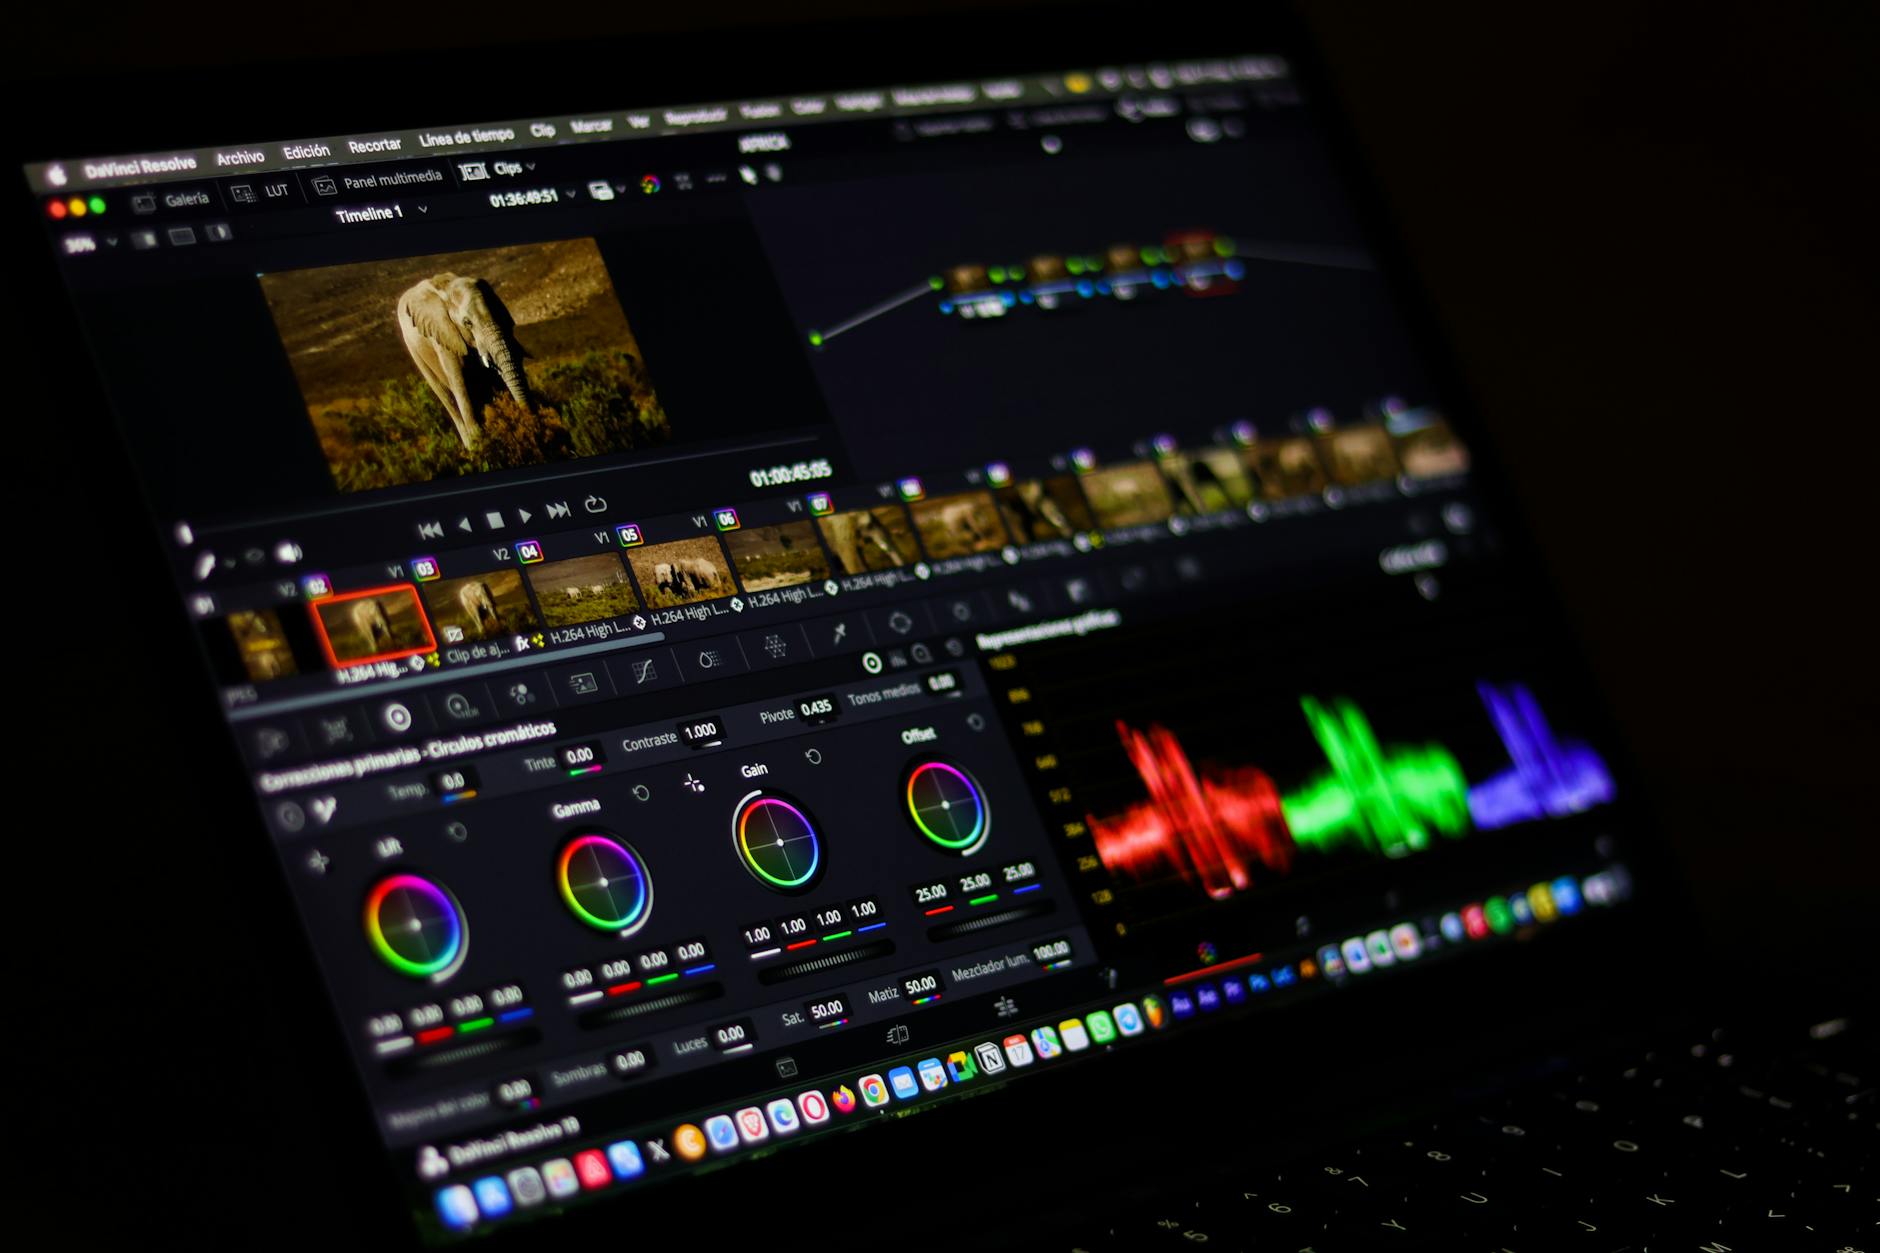
The free version of DaVinci Resolve is genuinely professional-grade. Its colour grading tools are unmatched at any price point, and the Fairlight audio suite rivals standalone DAWs. If you shoot on a camera that records in LOG or RAW, Resolve should be your first choice for colour work.
Final Cut Pro
Mac-only, but fast. Final Cut’s magnetic timeline and background rendering make it ideal for creators who prioritise speed. It’s a one-time purchase, which makes it cost-effective compared to Premiere’s subscription model.
CapCut Pro
Don’t overlook CapCut for short-form content. If you’re repurposing YouTube content into Shorts, the AI-driven editing tools and template library can save hours per week.
Our team at Motion Edges primarily works in Premiere Pro and DaVinci Resolve, depending on client needs. Check out our editing services to see which workflow suits your channel best.
How to Edit YouTube Videos Professionally: A Step-by-Step Workflow
Software is just the vessel. The real skill is in the workflow. Here’s the process our editors use when handling a YouTube project from raw footage to upload-ready file.
Step 1 , Organise Your Footage Before You Touch the Timeline
Bin your footage into clearly labelled folders: A-Roll (main talking head or presentation), B-Roll (cutaway footage, screen recordings, stock clips), Audio (music, SFX, voice-over), and Graphics (logos, lower thirds, end screens). A disorganised project file will cost you more time than any single editing decision.
Step 2 , Build a Rough Cut from Your Script or Outline
Lay your A-Roll on the timeline first. Cut ruthlessly , remove every “um,” every long pause, every false start. A good rule: if a sentence doesn’t serve the viewer, it doesn’t survive the cut. At this stage, don’t worry about B-Roll or music. Just get the story tight.
Step 3 , Add B-Roll to Cover Cuts and Add Context
B-Roll is the single fastest way to elevate a talking-head video. It gives your cuts somewhere to hide, it illustrates your points visually, and it gives viewers’ eyes something to engage with. Aim for a B-Roll cut every 15,30 seconds in educational content, more frequently in fast-paced entertainment content.
Step 4 , Mix and Master Your Audio
Bad audio kills good video. Use a noise reduction plugin (iZotope RX is the industry standard) to clean up room noise, then apply a gentle EQ to boost clarity in the 2kHz,5kHz range where speech intelligibility lives. Normalise your dialogue to around -14 LUFS for YouTube , this matches the platform’s loudness normalisation and ensures your audio doesn’t sound thin or distorted on playback. Set your background music 15,20dB below your dialogue track.
Step 5 , Colour Grade for Consistency and Mood
Colour grading isn’t just aesthetic , it’s brand identity. Start with a primary correction to fix exposure and white balance across all your clips so they match. Then apply a secondary “look” , a LUT or manual grade , that gives your channel a recognisable visual signature. Warm tones work well for lifestyle and travel content. Cooler, desaturated grades suit finance, tech, and documentary-style videos.
Step 6 , Add Motion Graphics, Captions, and End Screens
Lower thirds (text overlays showing your name or a key point), animated chapter transitions, and an engaging end screen with subscribe CTAs all contribute to a professional feel. Captions are no longer optional , auto-generated captions from YouTube are improving but still inaccurate enough to damage credibility. Burn accurate captions in or upload an SRT file.
Step 7 , Export at the Right Settings
For YouTube in 2026, export at H.264 or H.265, 1080p minimum (4K if your footage supports it), at a bitrate of at least 16 Mbps for 1080p. Use the YouTube preset in Premiere or Resolve’s YouTube 1080p master setting. Export audio at 48kHz AAC stereo.
Common Mistakes That Make YouTube Videos Look Amateur
Even with the right software and workflow, small mistakes can undermine your production quality. These are the errors we see most often when clients first come to us:
- Jump cuts without coverage. Back-to-back cuts on the same shot with no B-Roll look jarring. Always have cutaway footage ready.
- Inconsistent colour between shots. If you shoot at different times or switch lenses, your clips will look mismatched without a proper colour pass.
- Music that overpowers dialogue. Your voice is the product. Music is the atmosphere. Never let it compete.
- Forgetting a mobile preview. Over 70% of YouTube views happen on mobile. Preview your text overlays and captions on a phone screen before exporting.
- Neglecting the first 30 seconds. This is your highest drop-off zone. Hook viewers immediately , state the value of the video in the opening sentence, and cut your intro to under 10 seconds.
When to Outsource Your YouTube Video Editing
Learning to edit professionally takes time , realistically, 6,12 months of consistent practice before your output looks genuinely polished. For creators who are already producing content, running a business, or managing a community, that time simply doesn’t exist.
Outsourcing to a professional editing agency like Motion Edges means:
- Consistent quality across every upload, regardless of how busy you are
- A dedicated team that learns your brand style, preferred pacing, and recurring graphics
- Faster turnaround , typically 24,72 hours per video, depending on length
- More time to focus on content strategy, audience engagement, and filming
Many of the creators we work with were spending 6,8 hours editing a single 10-minute video. After moving to a managed editing workflow with our team, they reclaimed that time entirely and increased their upload frequency , which directly impacted their subscriber growth.
Explore our transparent pricing plans to find a package that fits your upload schedule and budget. You can also browse our portfolio to see the quality of work we deliver across different YouTube niches.
Final Thoughts on Editing YouTube Videos Professionally
Knowing how to edit YouTube videos professionally is one of the highest-leverage skills a creator can develop , and one of the most effective services you can invest in if you’d rather spend your energy in front of the camera. The fundamentals are consistent: tight pacing, clean audio, purposeful colour grading, and a clear visual brand. Master those, and your videos will outperform 90% of what’s published on the platform.
Whether you’re editing your own videos using the workflow above, or you’re ready to hand the process off to a team that eats timelines for breakfast, we’re here to help. Get in touch with Motion Edges today and let’s talk about what your channel needs to reach its next level.