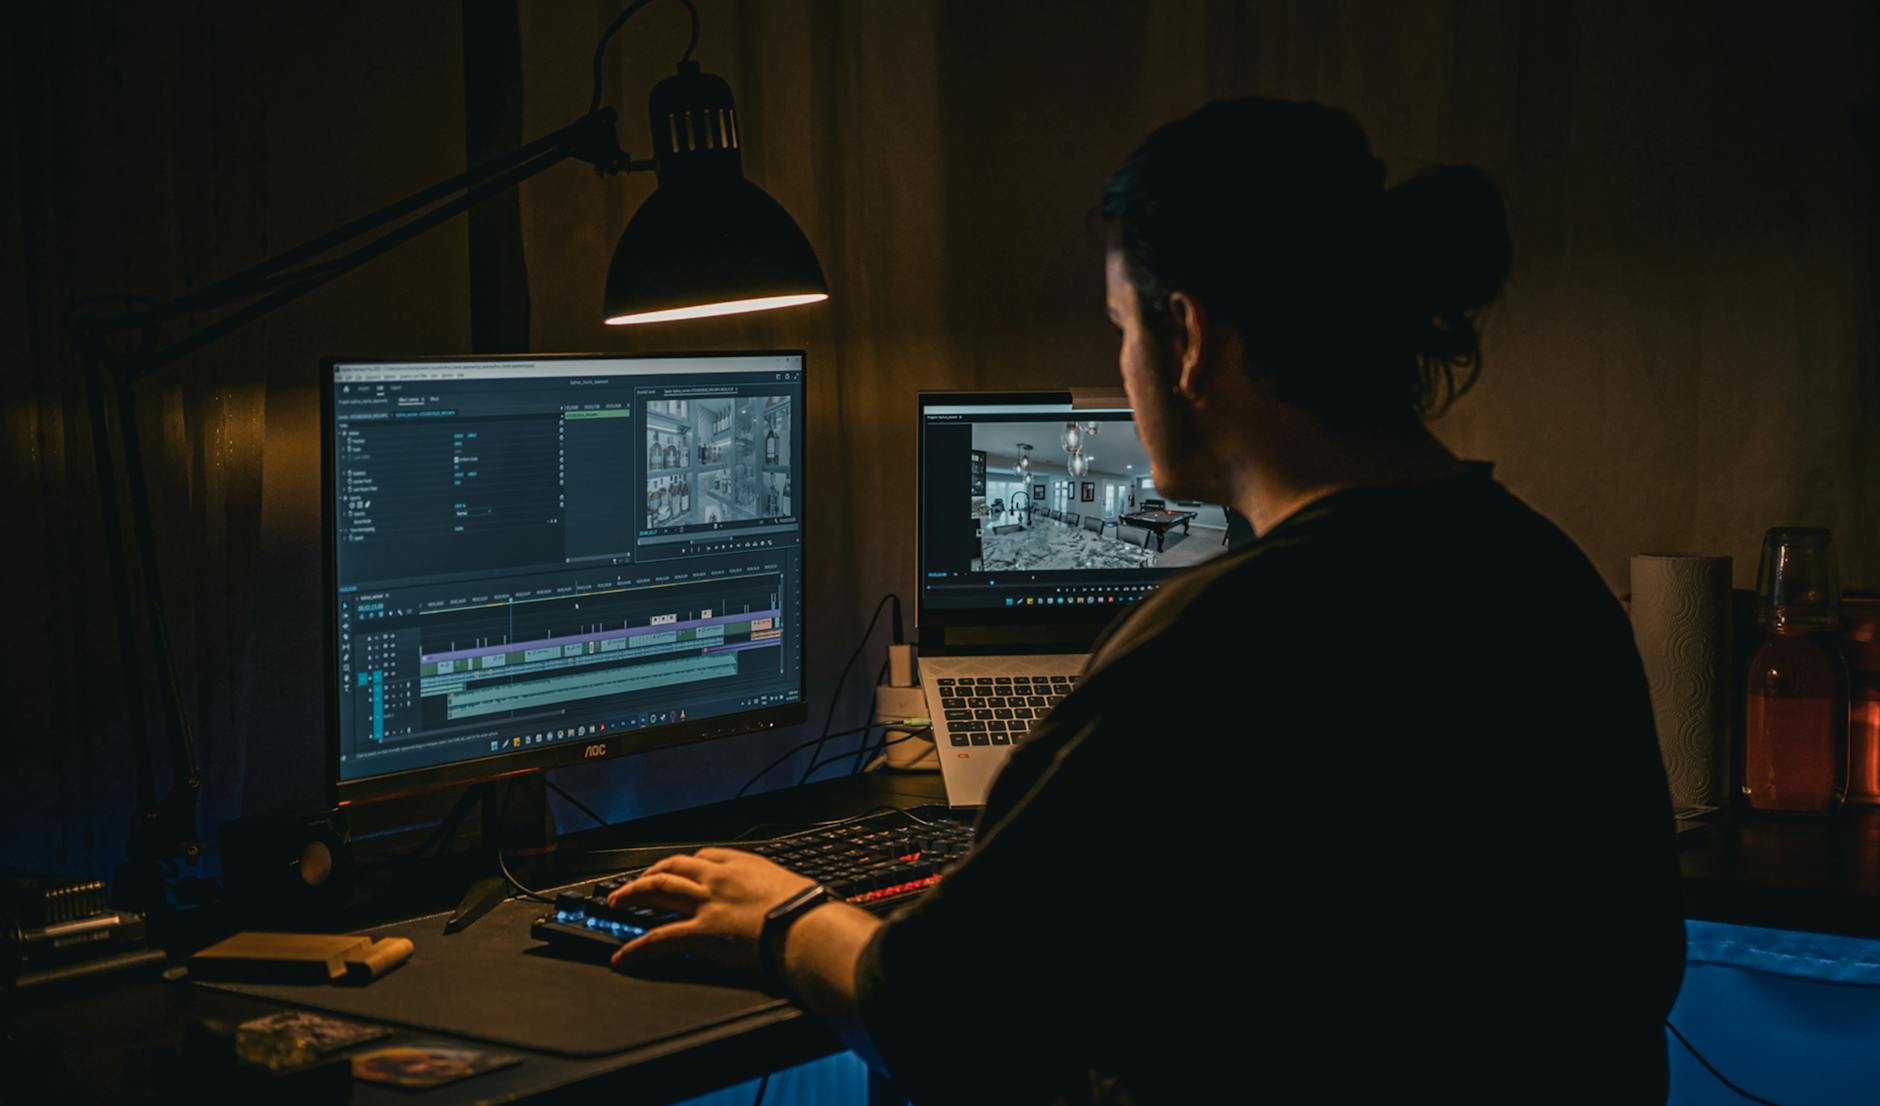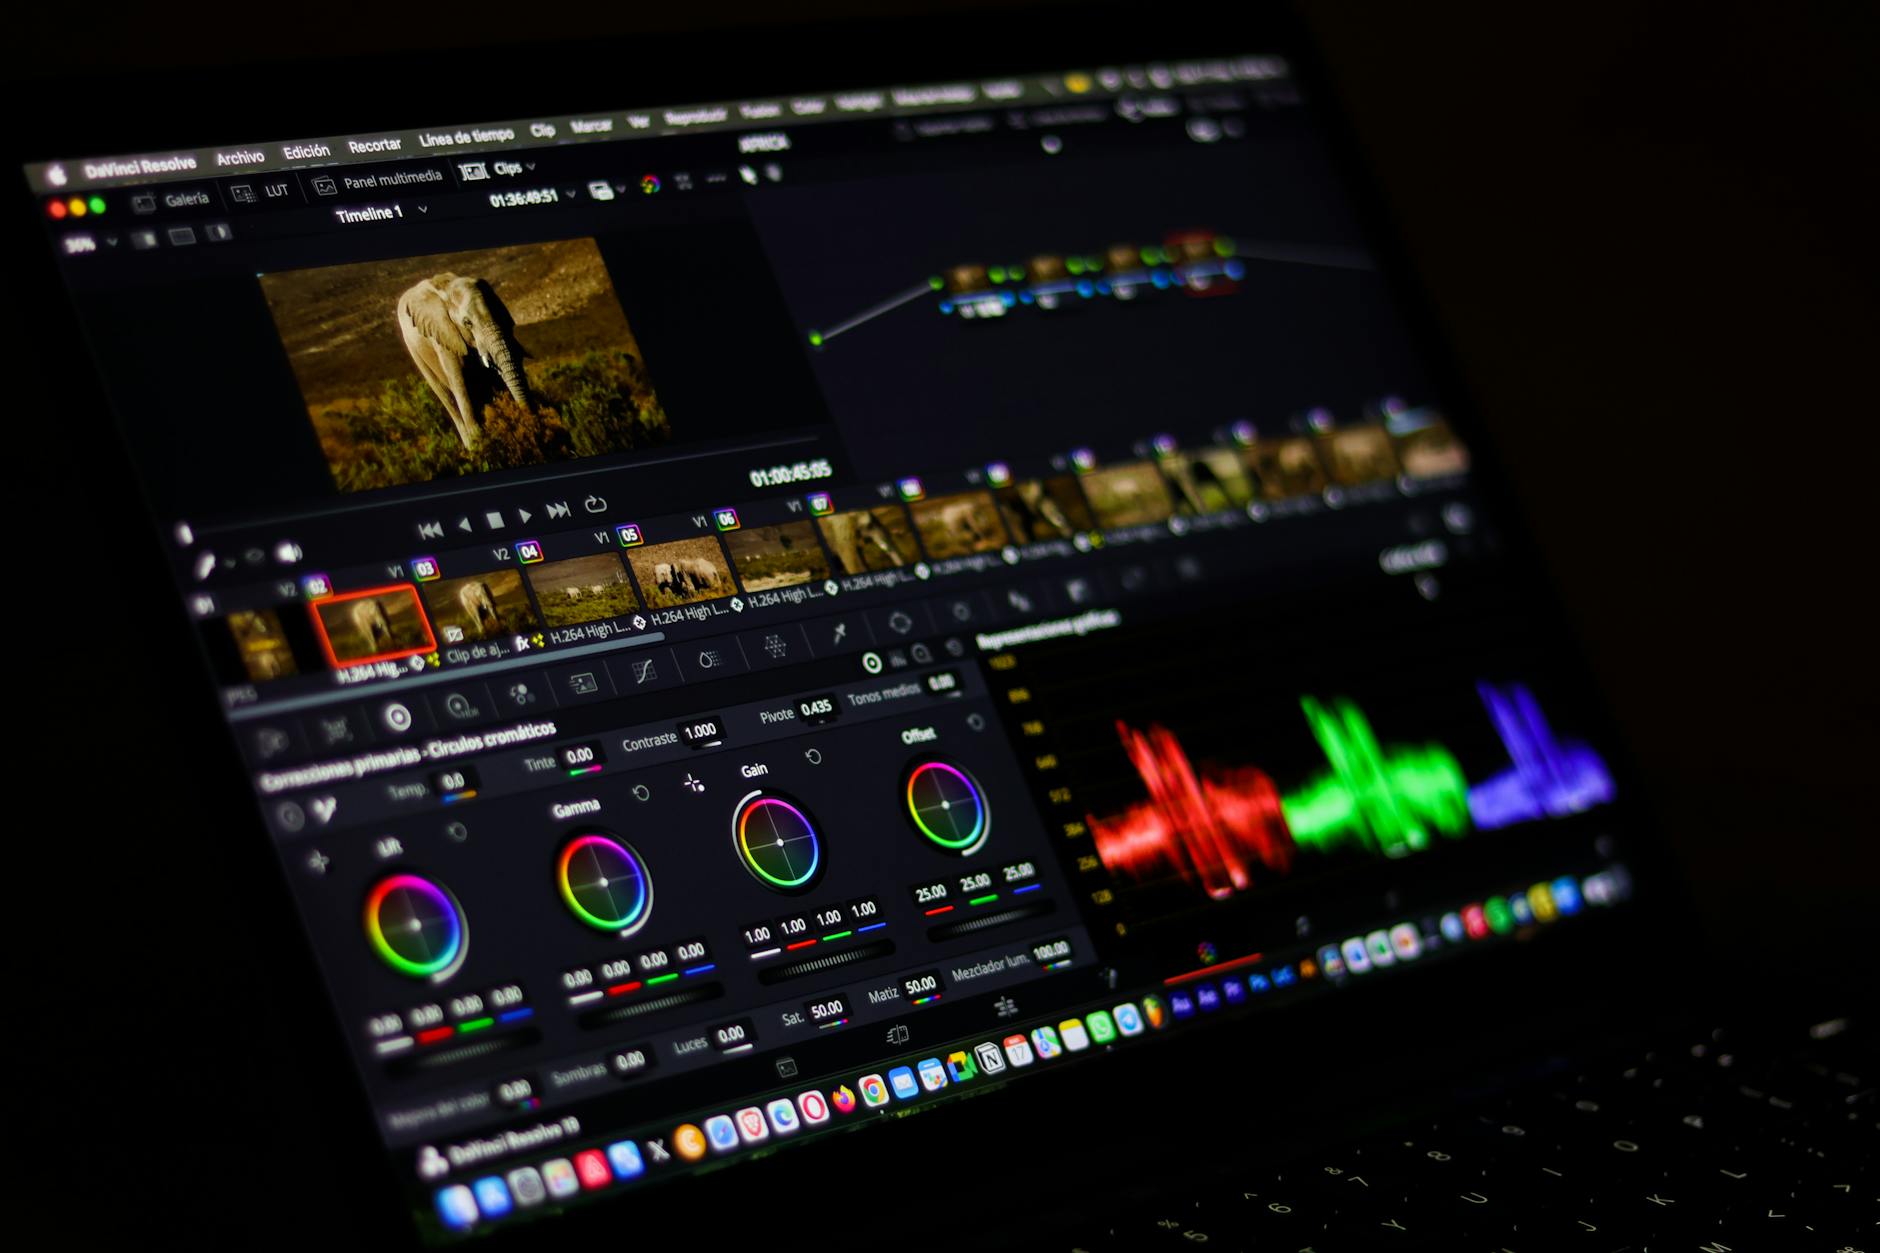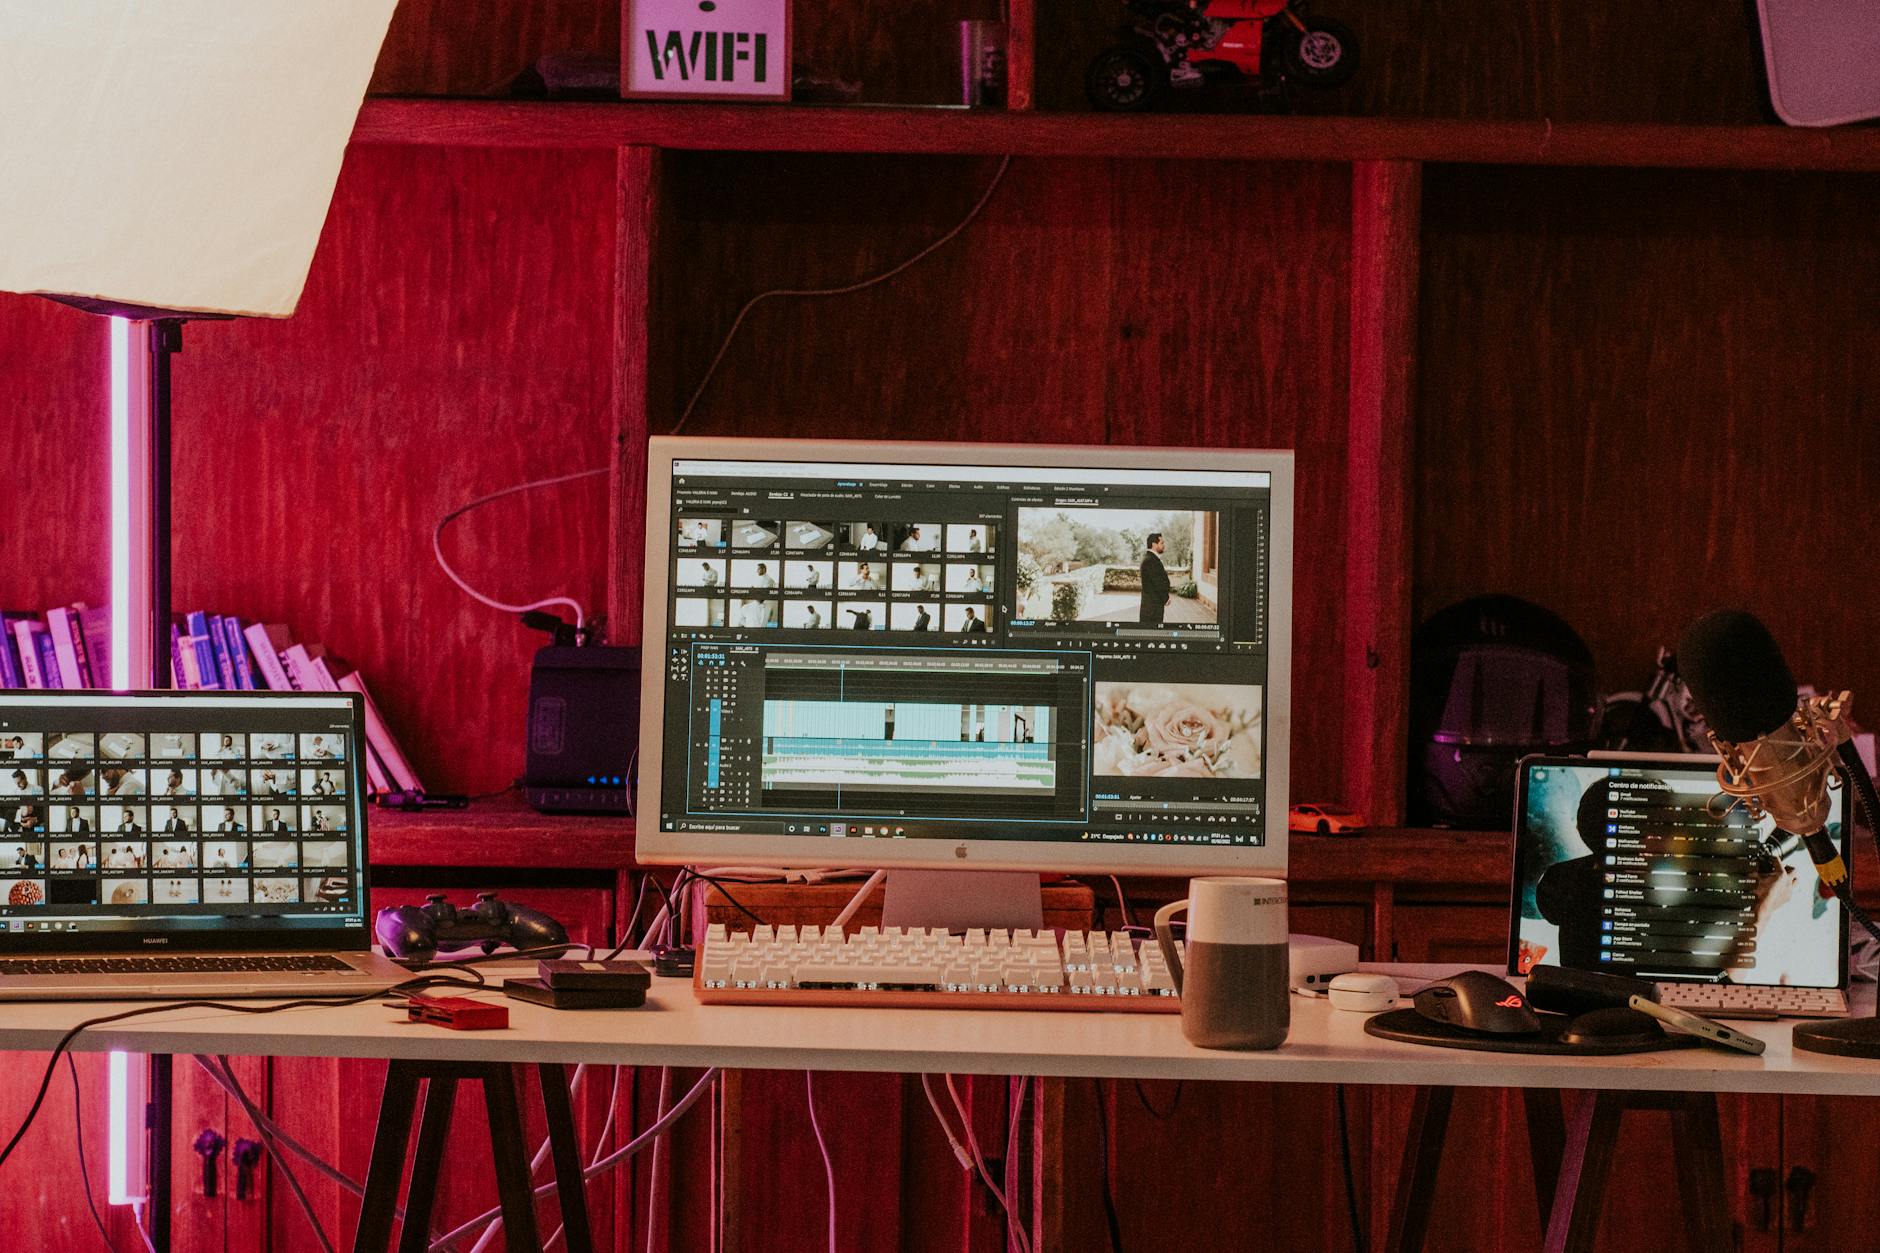
In today’s scroll-heavy digital landscape, if your video content isn’t optimized for mobile, you’re missing out on a massive audience. Vertical video has exploded, becoming the native language of platforms like TikTok, Instagram Reels, and YouTube Shorts. But knowing how to create it is one thing; understanding how to edit vertical video for social media effectively is where the real magic happens.
It’s not just about flipping your phone sideways; it’s about a fundamental shift in storytelling, framing, and pacing. You’re competing for mere seconds of attention, and every pixel matters. Here at Motion Edges, our team knows that mastering vertical video editing isn’t just a trend,it’s an essential skill for anyone looking to make an impact online. We’re here to guide you through the nuances, common pitfalls, and pro techniques to make your vertical content stand out.
💡 Key Insight: Vertical video isn’t just a format; it’s a unique storytelling medium. Its intimacy and full-screen immersion on mobile devices create a direct, engaging connection with viewers that horizontal video often can’t replicate.
Why Vertical Video Dominates the Social Landscape
Gone are the days when horizontal video was king. With smartphones becoming our primary content consumption devices, vertical video has risen to prominence, perfectly fitting the natural way we hold our phones. This isn’t just a convenience; it’s a strategic advantage.
Think about it: when you open TikTok, Instagram, or YouTube Shorts, your screen is filled entirely with content. There are no black bars, no wasted space. This immersive experience is incredibly powerful for capturing and holding attention. For businesses, creators, and individuals, ignoring this shift means ignoring where your audience lives and breathes online.
Platforms are actively pushing vertical content because it keeps users engaged longer. Algorithms favor it, and users expect it. If you’re still creating horizontal videos and hoping they’ll perform well after being cropped, you’re likely seeing diminished returns. The challenge, then, is to rethink your entire production workflow, starting with how you plan and then, crucially, how to edit vertical video for social media platforms.
Our team at Motion Edges has seen firsthand how a well-edited vertical video can outperform traditional formats, driving higher engagement, better reach, and stronger calls to action. It’s about respecting the medium and your audience’s viewing habits.
Essential Pre-Editing Strategies for Vertical Success
Before you even open your editing software, a solid pre-production strategy is crucial for creating compelling vertical video. You can’t just shoot horizontally and hope to crop effectively later; that’s a recipe for awkward framing and lost details. Planning ahead will save you countless hours in post-production and result in a much more polished final product.
✅ Shoot Vertically from the Start: Whenever possible, plan your shots with a vertical orientation in mind. Hold your phone or camera vertically while recording. This ensures your primary subject is always framed appropriately for the 9:16 aspect ratio, giving you maximum flexibility in editing.
Consider the primary subject of your video. Is it a person? A product? An action? In vertical video, the focus is much narrower. You need to compose your shots so that the key elements are centered or strategically placed within the vertical frame. The ‘Rule of Thirds’ still applies, but you’re working with a taller, narrower canvas.
Sound is another critical element often overlooked in vertical content. Many users watch social media videos without sound initially, so visual cues like captions and on-screen text are vital. However, for those who do enable sound, high-quality audio, engaging music, and clear voiceovers significantly enhance the viewing experience. Don’t rely solely on your phone’s built-in mic; consider an external microphone for clearer audio.
⚠️ Don’t Force a Crop: Trying to crop a horizontally shot video into a vertical frame often results in cramped compositions, cut-off heads, or crucial elements being left out. This looks unprofessional and undermines your message. Always prioritize shooting for the intended vertical format.
Think about your story. Vertical video often thrives on quick cuts, dynamic movement, and direct address to the camera. Plan your sequences to be concise and impactful, with each shot serving a clear purpose within the vertical frame.
Planning your shots vertically ensures optimal framing for social media platforms.
Step-by-Step Guide: How to Edit Vertical Video for Social Media
Now that you’ve got your footage, it’s time to dive into the editing process. Whether you’re using a professional suite like Adobe Premiere Pro, DaVinci Resolve, or mobile-first apps like CapCut or InShot, the core principles of how to edit vertical video for social media remain consistent. Our professional editing services are built on these fundamentals, ensuring your content always shines.
- Set Up Your Project Correctly. Start by creating a new project with a 9:16 aspect ratio (1080×1920 pixels is standard for HD vertical video). This is crucial to ensure your canvas matches the final output format.
- Import and Organize Your Footage. Bring all your vertical clips into your timeline. Label them clearly and create bins for different types of footage (e.g., A-roll, B-roll, sound effects, music).
- Rough Cut and Pacing. Start by assembling your best clips in a logical order. Vertical video thrives on fast pacing and immediate engagement. Aim for short, impactful segments. Eliminate any dead air or unnecessary shots.
- Frame Your Shots. Since your canvas is 9:16, meticulously adjust the position and scale of each clip to ensure your main subject is perfectly centered or strategically placed within the vertical frame.
- Add Engaging Text Overlays and Captions. Many viewers watch without sound. Use dynamic text, lower thirds, and full captions to convey your message. Most platforms also offer auto-captioning tools, but manually reviewing and editing them is always best.
- Enhance with Music and Sound Effects. Choose royalty-free music that complements your video’s mood and pace. Add sound effects to emphasize actions or transitions. Ensure your music and sound effects don’t overpower dialogue.
- Color Correct and Grade. Adjust exposure, contrast, and color balance to make your footage look vibrant and consistent. A consistent look across your content builds brand recognition.
- Apply Transitions and Effects Sparingly. Use transitions to smoothly move between scenes, but avoid overdoing it. Simple cuts are often most effective for fast-paced vertical content.
- Review and Refine. Watch your video multiple times, ideally on a mobile device, to catch any errors or awkward moments. Get feedback from others. This is also where you might check our transparent pricing for advanced editing needs.
Different platforms have slightly different optimal settings, though 9:16 is generally safe. Here’s a quick reference:
| Platform | Aspect Ratio | Recommended Resolution | Max Duration (Short-Form) |
|---|---|---|---|
| TikTok | 9:16 | 1080×1920 | 3 minutes (up to 10 minutes in some regions) |
| Instagram Reels | 9:16 | 1080×1920 | 90 seconds |
| YouTube Shorts | 9:16 | 1080×1920 | 60 seconds |
| Facebook/Instagram Stories | 9:16 | 1080×1920 | 15 seconds per segment |
Advanced Techniques for Engaging Vertical Content
Once you’ve mastered the basics, you can elevate your vertical videos with more advanced techniques. These aren’t just cosmetic; they’re designed to boost engagement and keep your audience hooked from the first frame to the last.
💡 Dynamic Text and Graphics: Beyond basic captions, use animated text, emojis, and graphic overlays that pop within the vertical frame. Tools like After Effects or even advanced features in mobile apps can create eye-catching visual elements that guide the viewer’s eye and reinforce your message.
Consider multi-layered visuals. Vertical video, despite its narrower frame, can still be used creatively. Think about split screens, picture-in-picture effects, or background elements that add depth without distracting from the main subject. These techniques can make your content feel more dynamic and professional.
Sound design is another area where you can really shine. Beyond just music, incorporate foley sounds, subtle ambient noise, or vocal effects to add texture and immersion. For instance, a quick ‘whoosh’ sound effect can elevate a simple transition, or a subtle background hum can set a mood. We often use these techniques when clients get in touch with our team for high-impact social media campaigns.
Don’t forget the power of B-roll. Even in vertical, supplementary footage can break up monotony and add visual interest. Use quick cuts of relevant B-roll to illustrate points or show different angles, keeping your audience visually stimulated.

Dynamic text and creative overlays significantly boost engagement in vertical video.
Optimizing and Exporting for Maximum Reach
The final step in mastering how to edit vertical video for social media is ensuring your export settings are spot on. Incorrect settings can lead to blurry videos, slow loading times, or rejection by platforms. You want your content to look its best and perform seamlessly.
Always export in the native 9:16 aspect ratio at 1080×1920 resolution. The frame rate should match your original footage (typically 24, 25, or 30 frames per second). For codecs, H.264 is the widely accepted standard for social media, offering a good balance between quality and file size. Aim for a bitrate that provides clear visuals without making the file excessively large, usually between 8-15 Mbps for 1080p.
✅ Compress Smartly: While high quality is good, excessively large files can lead to buffering or platform compression that degrades your video. Use a tool like HandBrake or your editor’s built-in compression options to reduce file size without significant quality loss. Many platforms also prefer specific maximum file sizes, so check their guidelines.
Before uploading, double-check your video on a mobile device. Does it look good? Is the audio clear? Do captions appear correctly? This final review is critical. Also, consider adding a strong call to action (CTA) at the end of your video, whether it’s to follow your account, visit a link, or leave a comment. Make it clear and concise.
At Motion Edges, we specialize in ensuring your content is perfectly optimized for every platform. We can help you refine your vertical video strategy, from initial concept to final export. You can see our portfolio for examples of how we help brands achieve their social media goals.
⚠️ Avoid Re-encoding Multiple Times: Every time you save or export a video, especially if you’re changing formats or resolutions, you risk losing quality. Aim to do your primary editing and then export once to the final desired settings to maintain crisp visuals.
Conclusion
Mastering how to edit vertical video for social media isn’t just about technical know-how; it’s about understanding the unique demands of mobile audiences and crafting content that resonates. From strategic planning and precise framing to dynamic text and optimized exports, every step plays a crucial role in creating engaging, scroll-stopping content.
The vertical format is here to stay, and by embracing its potential, you can significantly enhance your online presence. If you’re looking to elevate your vertical video game and truly stand out, our team at Motion Edges is ready to help. Explore our professional editing services and let us transform your vision into captivating social media stories.
What’s the best aspect ratio for vertical video on social media?
The best and most widely accepted aspect ratio for vertical video across platforms like TikTok, Instagram Reels, and YouTube Shorts is 9:16. This resolution (e.g., 1080×1920 pixels) ensures your video fills the entire mobile screen, providing an immersive viewing experience.
Can I convert horizontal video to vertical for social media?
While you can technically convert horizontal (16:9) video to vertical (9:16), it’s generally not recommended. Doing so often requires heavily cropping your footage, which can lead to awkward framing, cut-off subjects, and a less professional look. It’s always best to shoot your content vertically if you intend for it to be viewed in a vertical format.
What editing software is best for vertical video?
Many popular video editing software options work great for vertical video. Professional tools like Adobe Premiere Pro, DaVinci Resolve, and Final Cut Pro offer full control. For mobile-first editing, apps like CapCut, InShot, and KineMaster are excellent choices, providing user-friendly interfaces specifically designed for social media content creation.
How important are captions in vertical social media videos?
Captions are extremely important for vertical social media videos. A significant percentage of users watch videos on mute, especially in public settings. High-quality, engaging captions ensure your message is still conveyed and helps improve accessibility. Dynamic text and on-screen graphics also play a crucial role in holding attention.
What’s the ideal length for vertical social media videos?
The ideal length varies by platform and content type, but generally, shorter is better for vertical social media videos. Aim for 15-60 seconds for most short-form content on Reels, Shorts, and TikTok to maximize viewer retention. Some platforms allow longer videos, but the initial hook and fast pacing are critical for keeping viewers engaged past the first few seconds.
Ready to Elevate Your Video Content?
Motion Edges delivers professional video editing that drives engagement and growth. Our dedicated editors learn your style and deliver consistently polished content.