
Ever wondered how professional videos achieve that polished, cinematic look, making every frame pop with emotion and style? Often, it’s not just about the camera or the lighting; it’s the magic of color grading. For anyone diving into video editing, understanding effective **color grading techniques for beginners** is a game-changer. It’s the difference between raw, flat footage and a visually stunning narrative that truly captivates your audience.
At Motion Edges, we know firsthand the power of color in storytelling. We’ve seen how a well-graded video can elevate a brand, convey a specific mood, or simply make content more engaging. If you’re just starting out, the world of color correction and grading can seem complex, filled with jargon and intricate tools. But don’t worry, you don’t need to be a seasoned professional to start making a significant impact on your videos. Our goal today is to demystify the process, providing you with practical, actionable insights you can apply right away.
Whether you’re editing vlogs, short films, marketing videos, or personal projects, mastering these fundamental color grading techniques will empower you to create visually compelling content that stands out. Let’s dive in and transform your understanding of video aesthetics.
💡 Color isn’t just an aesthetic choice; it’s a powerful psychological tool. Different colors evoke different emotions and can subtly guide your audience’s perception of your story or message. Mastering this can elevate your video from good to unforgettable.
Understanding the Basics: Color Correction vs. Color Grading
Before we jump into the exciting world of creative color, it’s crucial to understand the foundational difference between color correction and color grading. Many beginners use these terms interchangeably, but they represent distinct phases in the post-production workflow.
Color Correction is the first step. Think of it as fixing problems and achieving a neutral, accurate image. Its primary goal is to make your footage look natural and consistent, as if seen by the human eye. This involves:
- White Balance: Adjusting colors so that white objects appear truly white, removing unwanted color casts (like a blue tint from shade or an orange tint from indoor lighting).
- Exposure: Ensuring your image isn’t too dark (underexposed) or too bright (overexposed), bringing detail back into shadows and highlights.
- Contrast: Adjusting the difference between the brightest and darkest parts of your image to give it depth.
- Saturation: Controlling the intensity of colors, making them more vibrant or more muted, but always aiming for a realistic look.
Essentially, color correction is about technical accuracy. You’re bringing your footage to a clean, standardized baseline before you start adding creative flair.
Color Grading, on the other hand, is the creative and stylistic phase. Once your footage is technically sound, color grading allows you to manipulate color to evoke specific emotions, create a mood, or establish a unique visual style for your project. This is where you transform the look of your video to match your artistic vision. Examples include:
- Creating a gritty, desaturated look for a dramatic scene.
- Enhancing warm tones for a romantic or nostalgic feel.
- Applying a ‘teal and orange’ look common in Hollywood blockbusters.
- Making your product videos pop with vibrant, appealing colors.
Imagine you’re painting a house. Color correction is like prepping the walls, patching holes, and applying a primer. Color grading is choosing the final paint color and decorative finishes to achieve a specific aesthetic. Both are vital, but they serve different purposes.
| Feature | Color Correction | Color Grading |
|---|---|---|
| Purpose | Technical accuracy, consistency | Creative style, mood, emotion |
| Goal | Neutral, realistic image | Artistic vision, visual storytelling |
| Focus | White balance, exposure, contrast, saturation | Color palettes, stylistic looks, emotional impact |
| Timing | First step in color workflow | Second, creative step |
✅ Always start with color correction. Trying to color grade an uncorrected clip is like trying to build a house on a shaky foundation. Get your white balance and exposure right first!
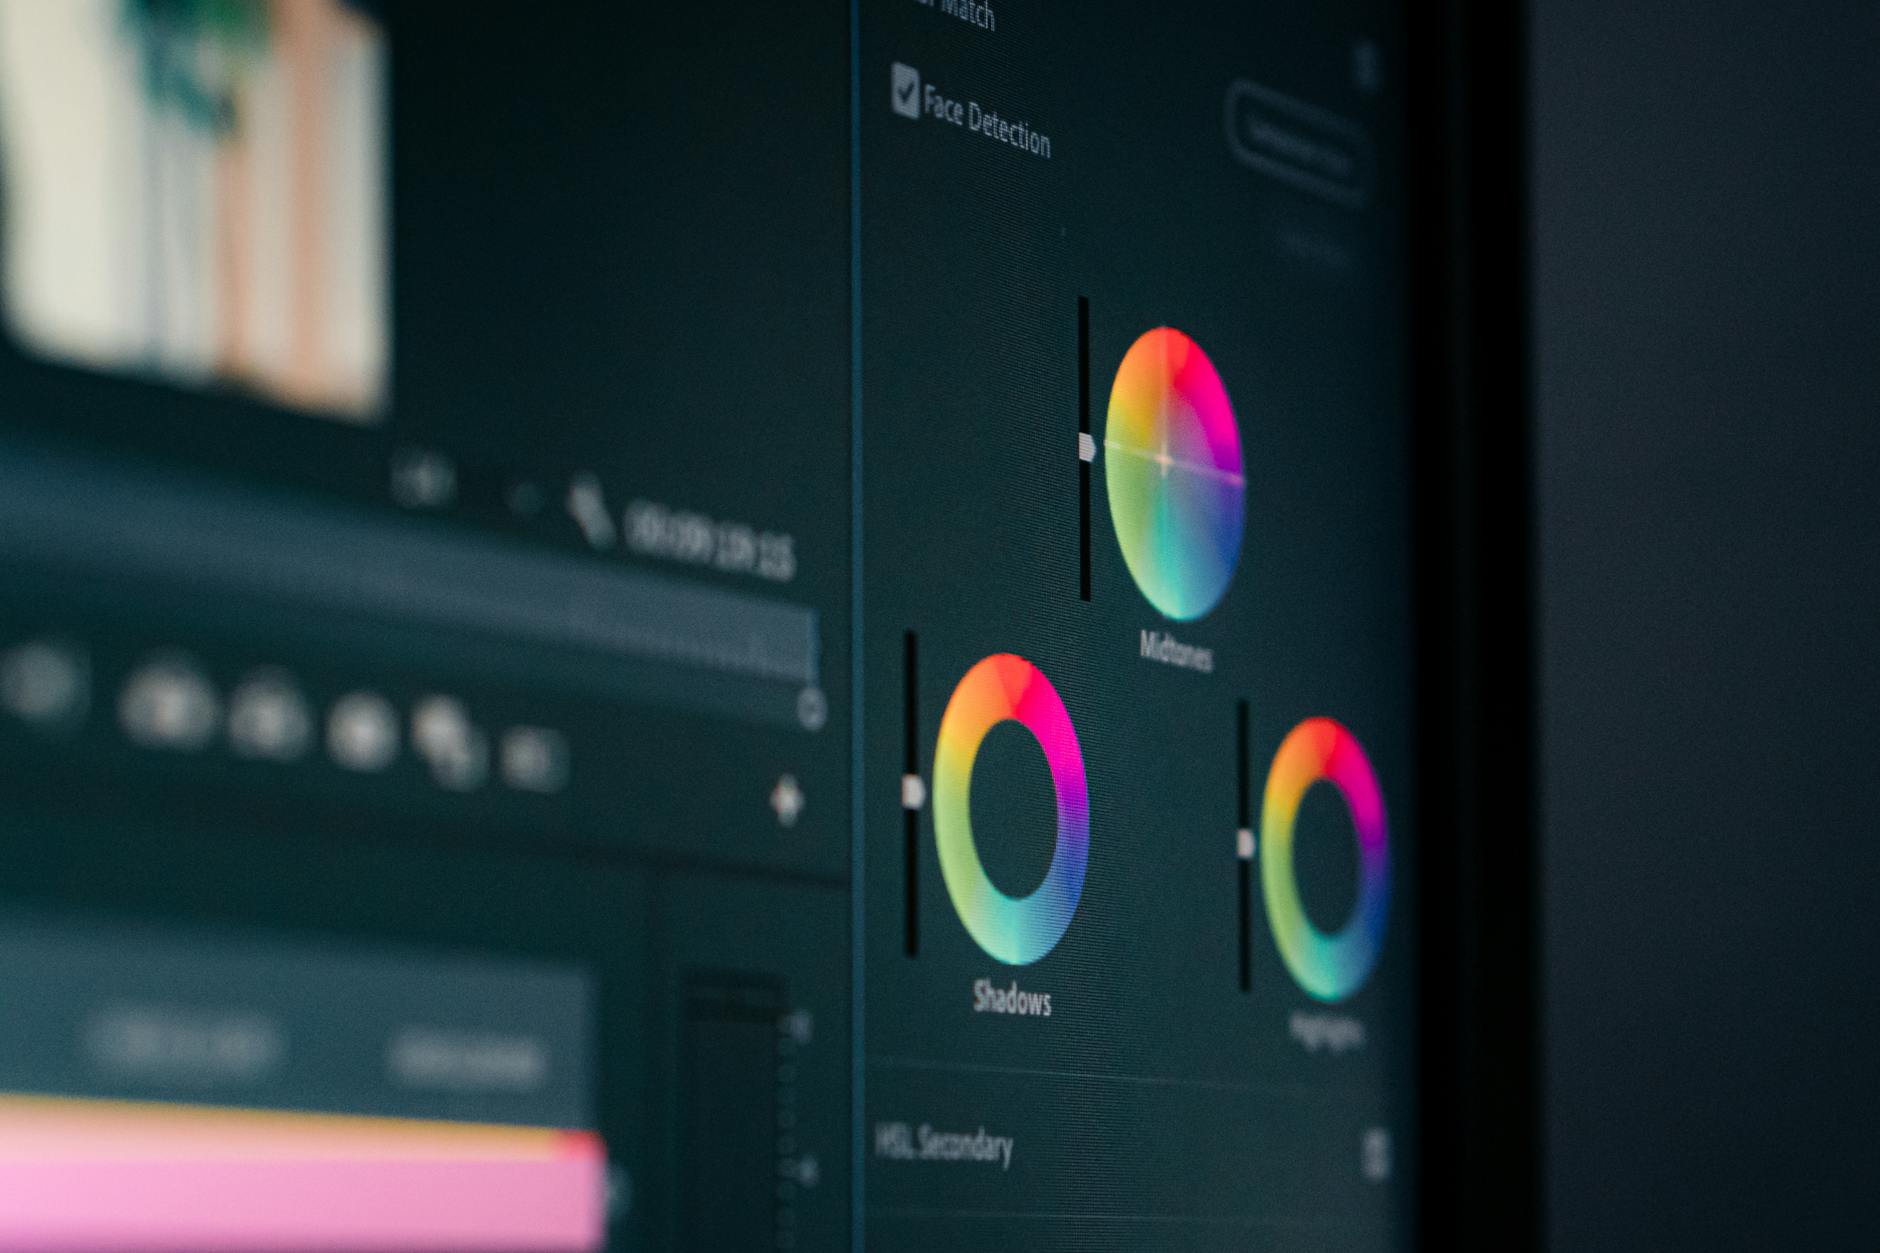
Color correction ensures your footage is balanced and natural before applying creative grades.
Essential Tools and Concepts for Color Grading
Now that you understand the difference, let’s explore the fundamental tools and concepts you’ll encounter in most professional editing software like DaVinci Resolve, Adobe Premiere Pro, or Final Cut Pro. You don’t need to master all of them at once, but familiarity with these will empower your initial color grading techniques for beginners.
Video Scopes: Your Objective Eyes
Before you even touch a color wheel, you need to understand video scopes. These are graphical representations of the color and luminance information in your video. They take the guesswork out of judging colors by eye, which can be easily fooled by your monitor calibration or ambient light.
- Waveform Monitor: Shows the luminance (brightness) levels from left to right across your image. It helps you identify overexposed or underexposed areas and ensure proper contrast.
- Vectorscope: Displays the hue and saturation of colors. The further from the center, the more saturated the color. It’s excellent for checking skin tones and ensuring colors aren’t oversaturated.
- RGB Parade: Shows the luminance levels for the Red, Green, and Blue channels separately. This is invaluable for white balancing and identifying color casts.
⚠️ Never rely solely on your eyes for color judgment, especially when you’re a beginner. Your monitor might not be calibrated, or your viewing environment could be influencing your perception. Always use video scopes to confirm your adjustments.
Primary Color Correction Tools
These are your initial adjustments, often found in a
Ready to Elevate Your Video Content?
Our team at Motion Edges delivers professional color grading and video editing. Let us transform your raw footage into cinematic content.
Related Services from Motion Edges
- Talking Head Video Editing in Los Angeles — clean cuts, captions, and b-roll for YouTube creators
- Talking Head Video Editing in Austin — 48-hour delivery, professional results
- View All Video Editing Services